


Just in time for the holiday season, Lenovo has released its Mirage AR head-mounted display with the Star Wars: Jedi Challenges game and accessories. Unfortunately, while its price point is a fraction of most other AR headsets, at the moment, it does have a few issues with the setup process.
Lenovo's Mirage AR, the newest option in a constantly growing list of augmented reality headsets, is geared towards Star Wars fans and uses your smartphone as the brains and display, much like the Samsung Gear VR or the Google Daydream View.
Here at Next Reality, after running into our own problems getting this package assembled, with its less than intuitive process, we decided it would be a good idea to put a tutorial together on the process of getting your smartphone into the Mirage AR device. Hopefully, with this guide, you can learn from our experience.
The Parts You Will Need
Before you open the box, check that your smartphone is on the list of compatible devices below. Of course, Android is a bit more fluid in terms of compatibility, but aside from smartphone's capabilities, its size is also a factor. Lenovo is currently working on adding support for more smartphones, such as the iPhone X, so keep your eyes peeled. If your smartphone is not listed below, you can still try it out, but it may not work properly as it's not optimized for the headset.
- Apple's iOS: iPhone 8 Plus, iPhone 8, iPhone 7 Plus, iPhone 7, iPhone 6s Plus, iPhone 6s, iPhone 6 Plus, and iPhone 6.
- Google's Android: Samsung Galaxy S8, Galaxy S7 Edge, Galaxy S7, Google Pixel XL, Google Pixel, Moto Z2 Force Edition, and LG G6.
After confirming that your smartphone will work with the Mirage AR headset, make sure you get the lightsaber controller plugged in and charging, and install the software from the Google Play Store or the iOS App Store onto your smartphone.
While your iPhone can have iOS 9 or later installed, Lenovo recommends you update to iOS 11.1 or higher. Anything below that will require about 40 seconds to connect, while iOS 11.1 or higher will only take about 5 seconds. For non-iPhones, you can use Android 6.0 or higher.
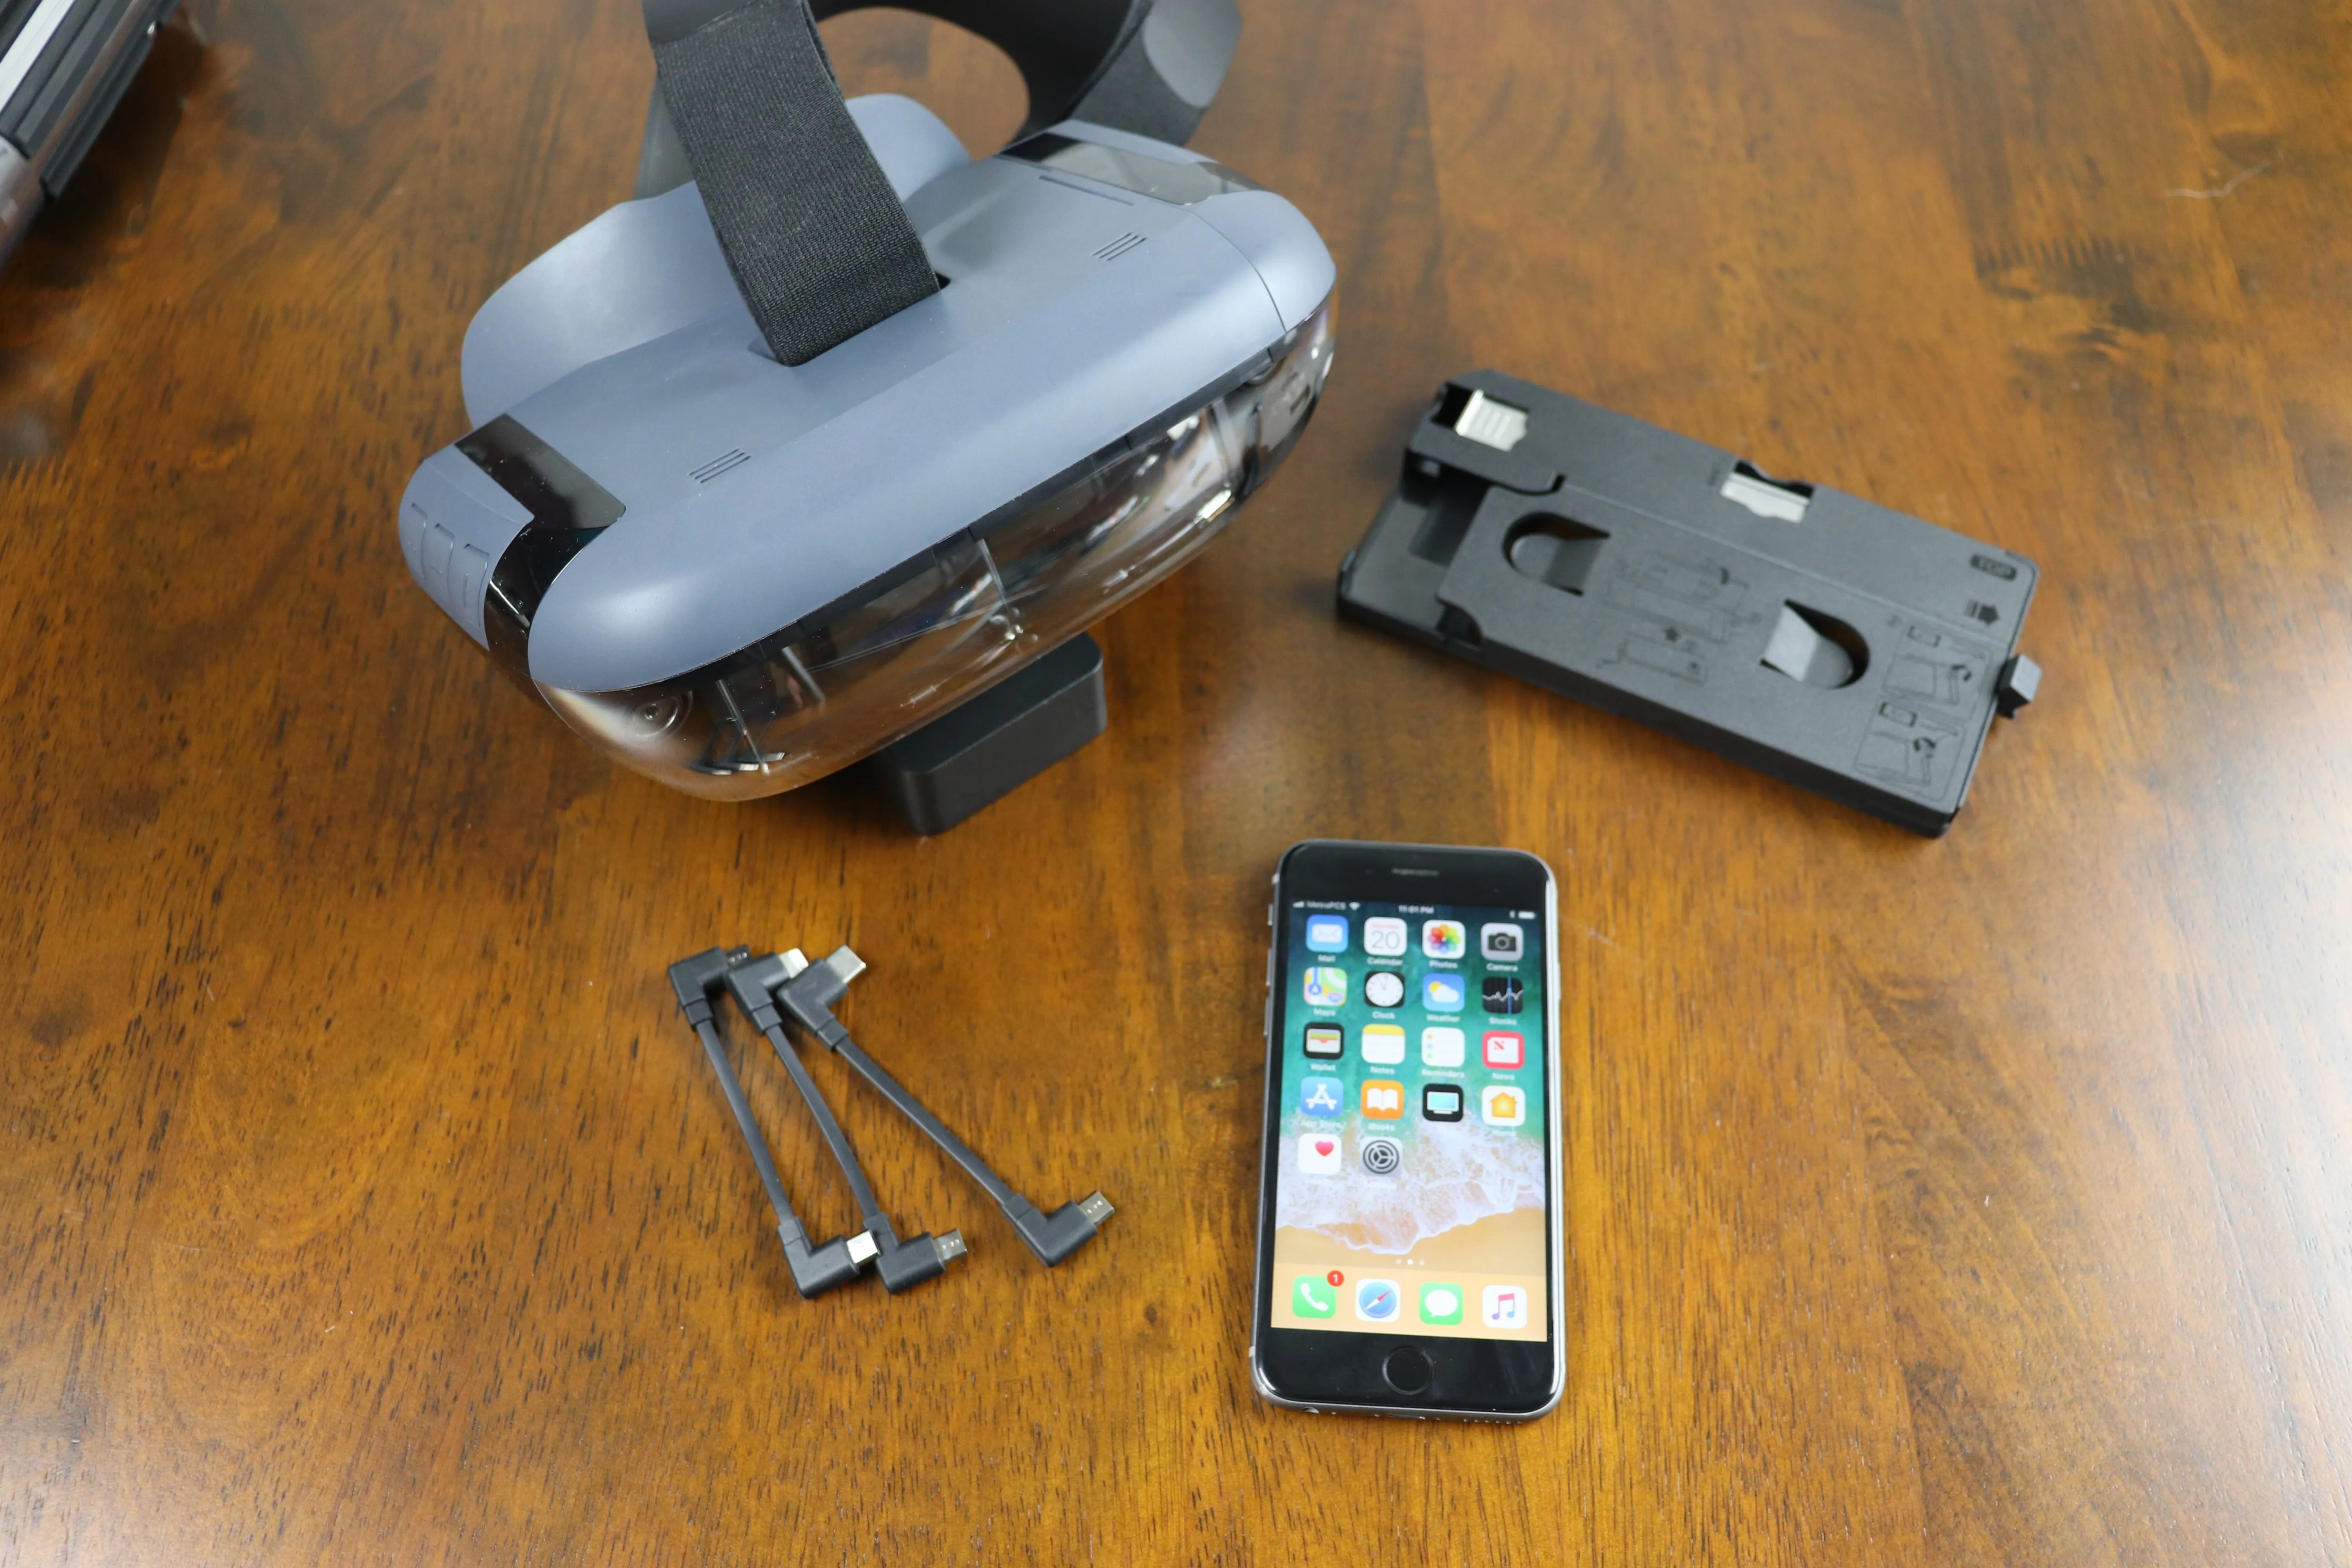
Once you have installed and launched the game, synced the lightsaber controller via Bluetooth, and have the tracking beacon ready to go, make sure you have these things:
- Mirage AR headset
- smartphone holder insert sleeve
- short Micro-USB adapter cable (Lightning, USB-C, or Micro-USB)
- your smartphone
Jason Odom/Next Reality
Open the Side Panel
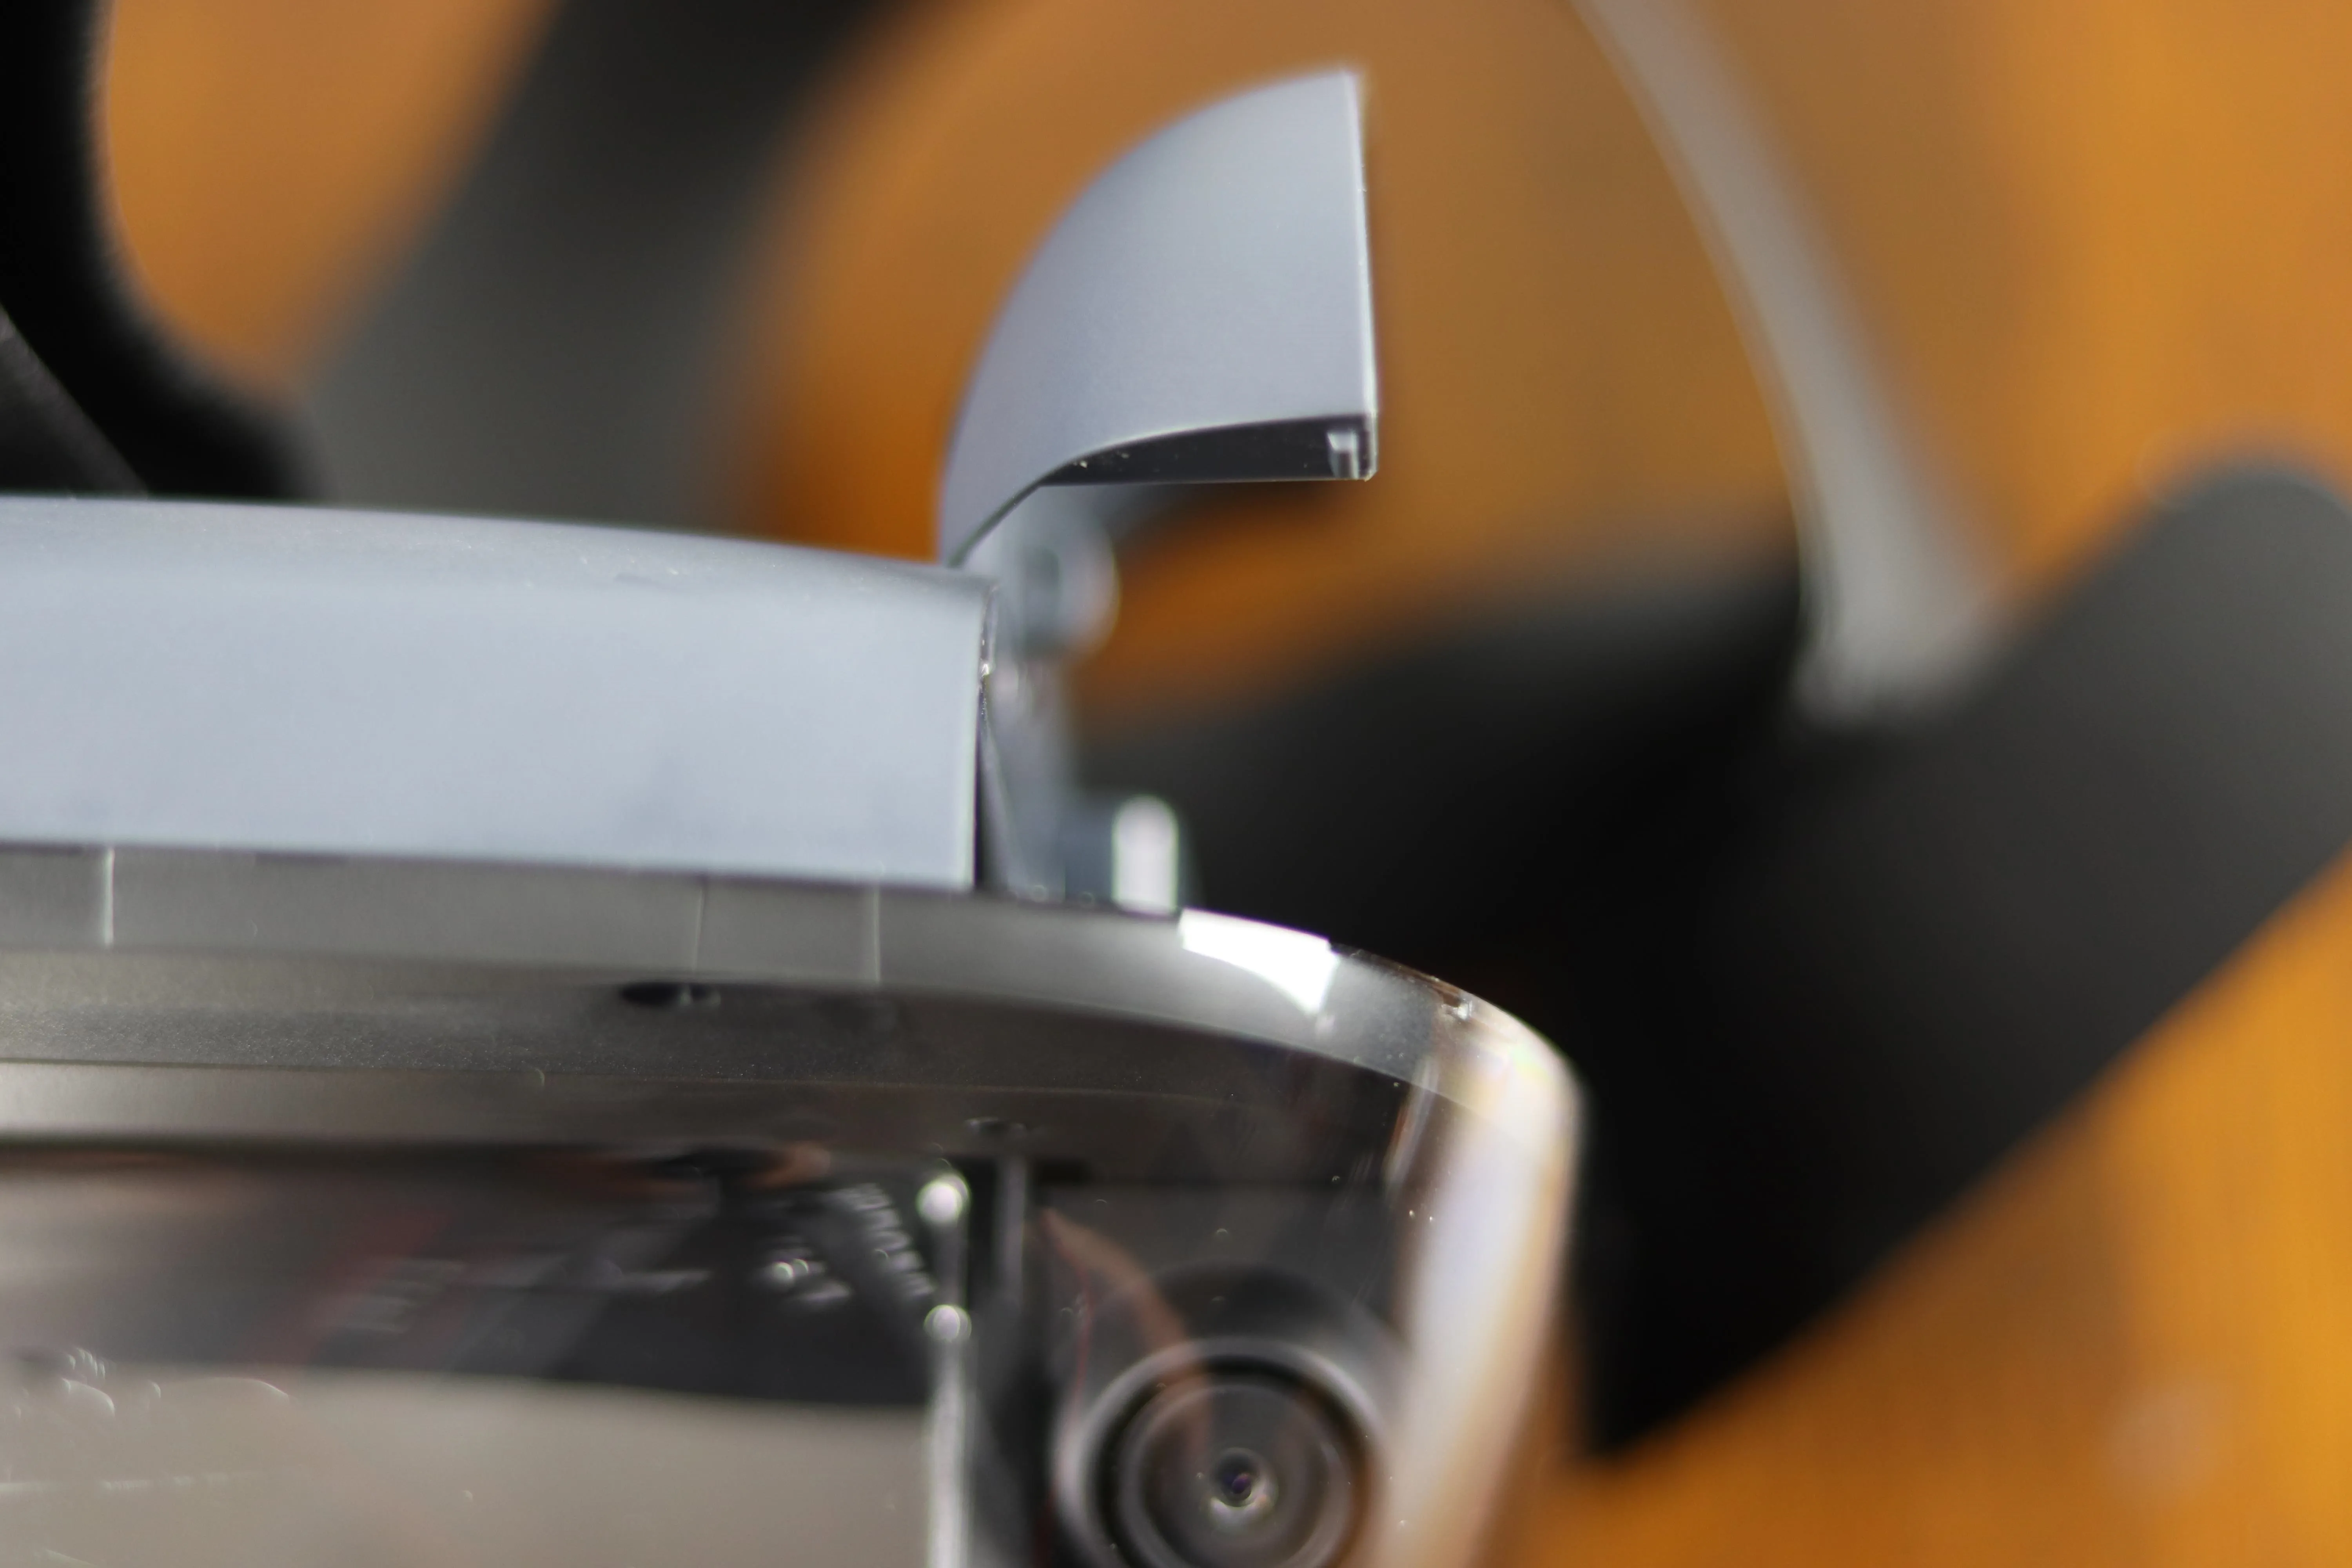
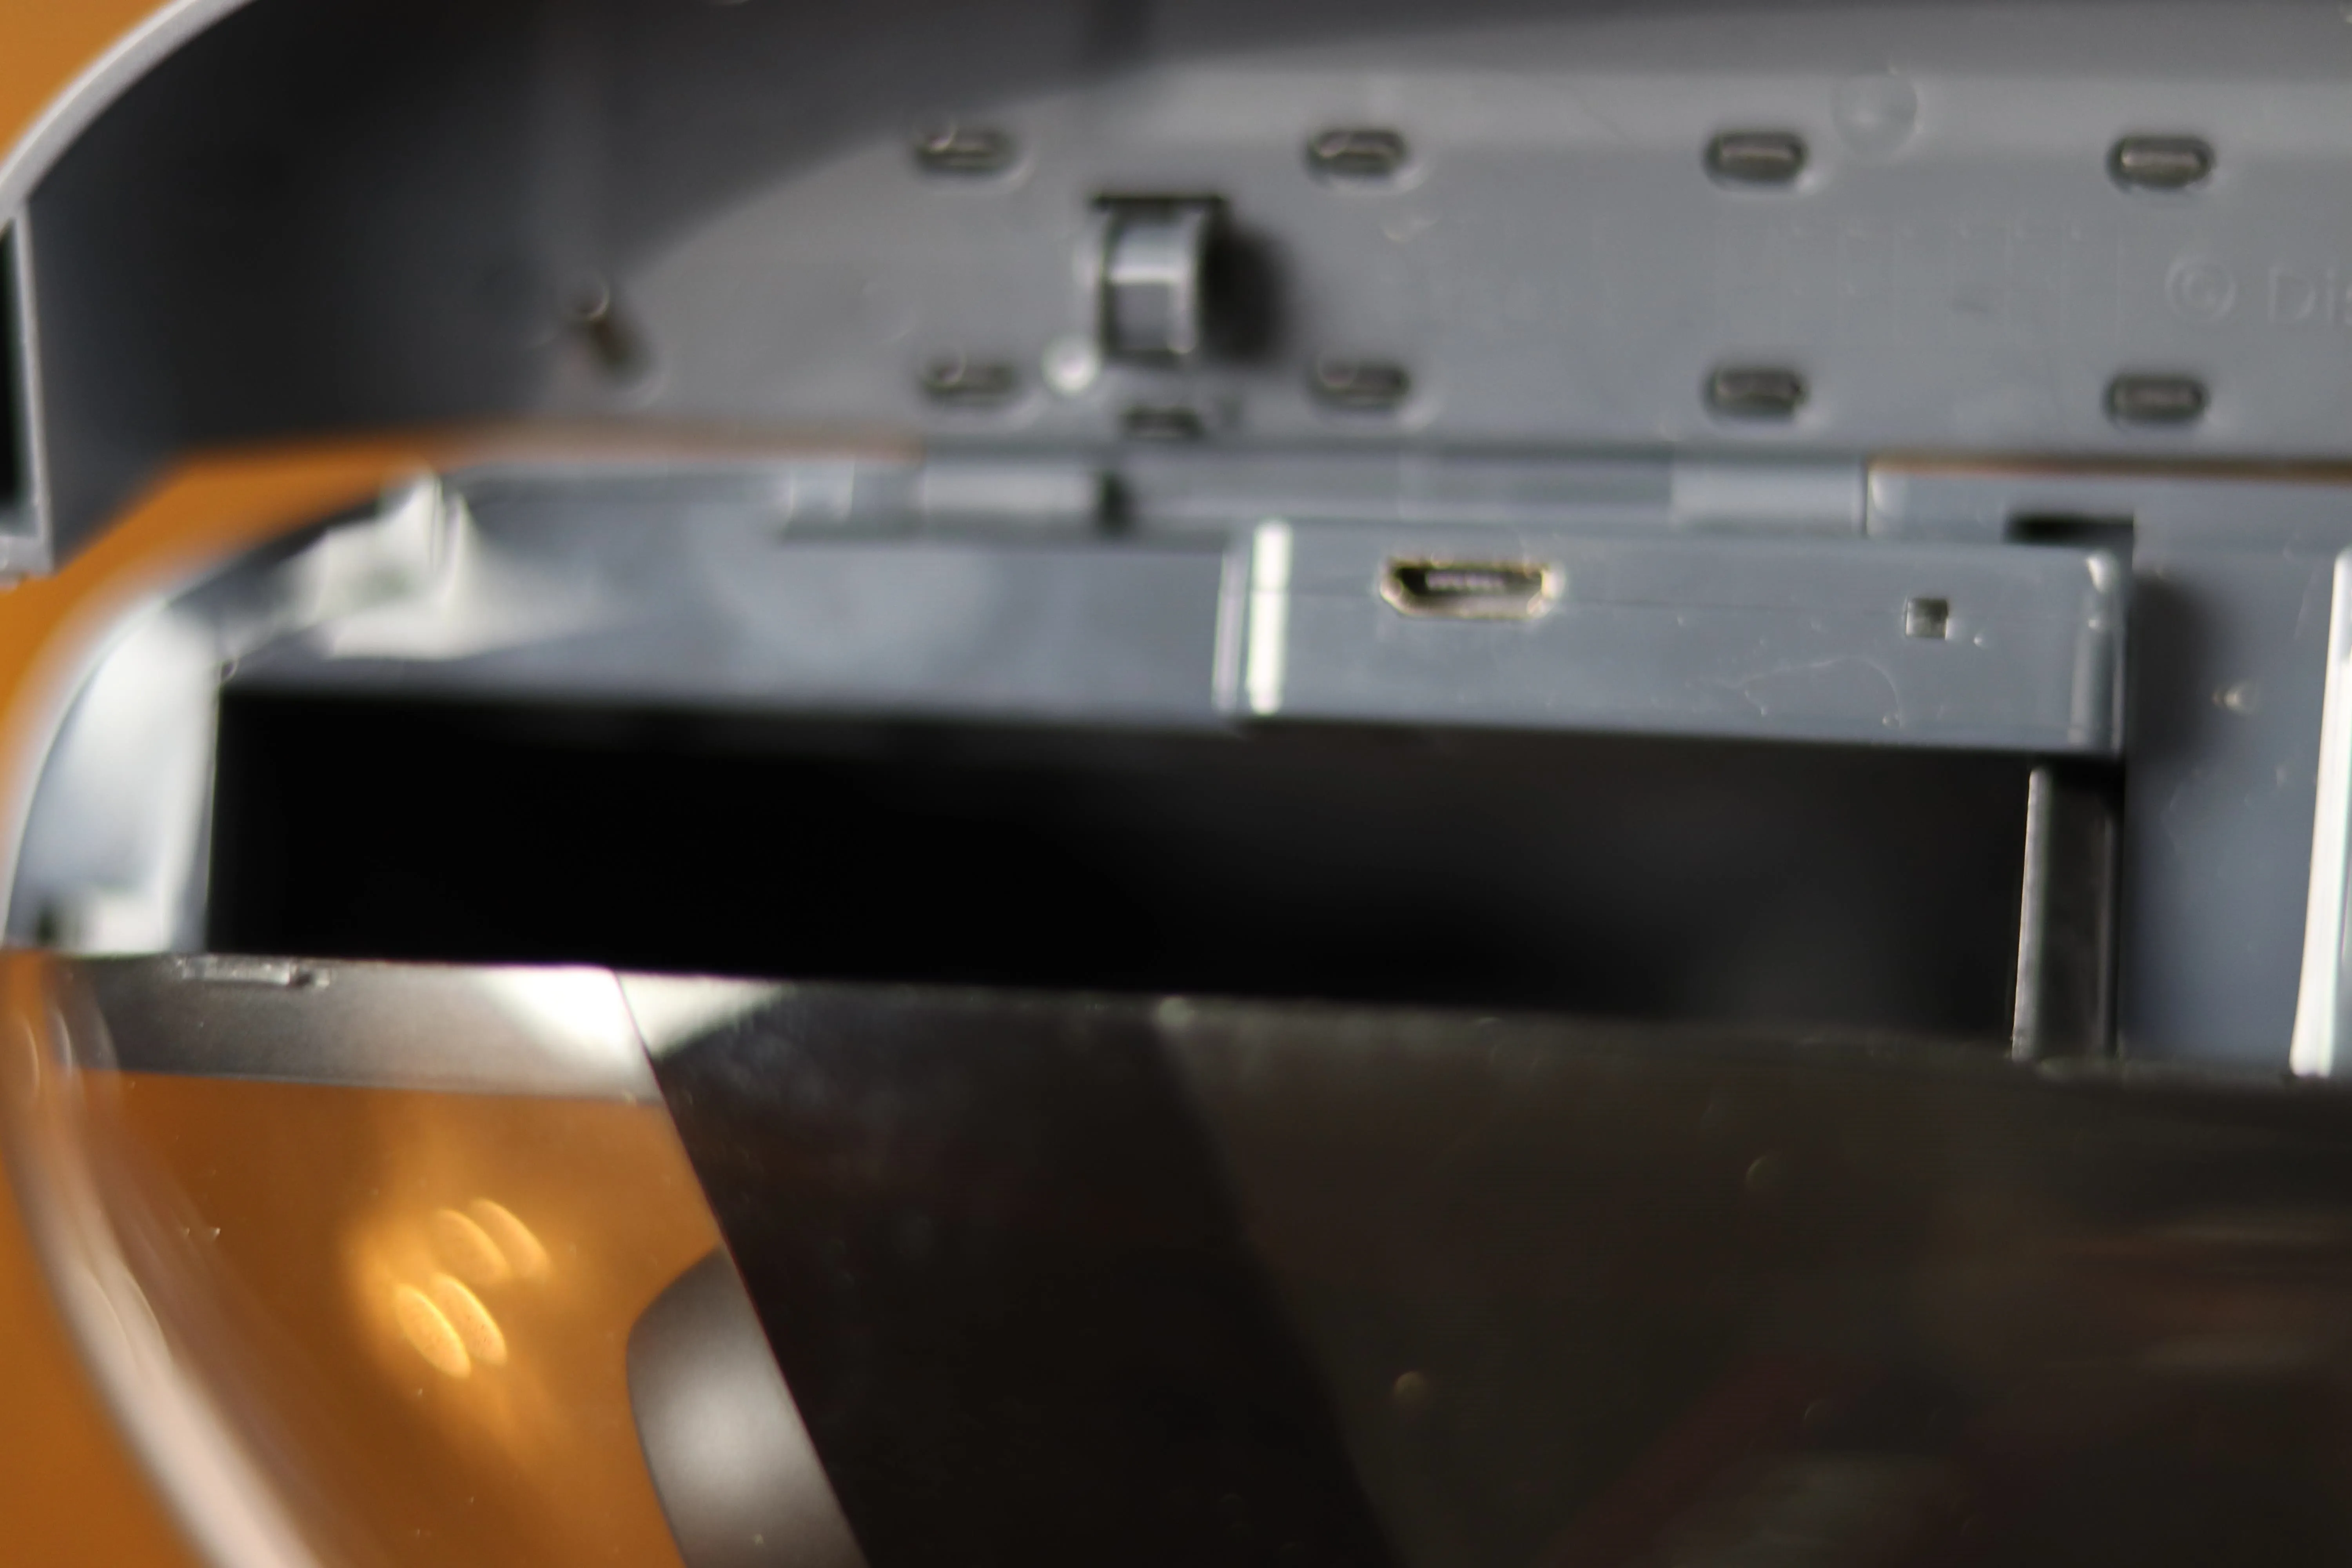
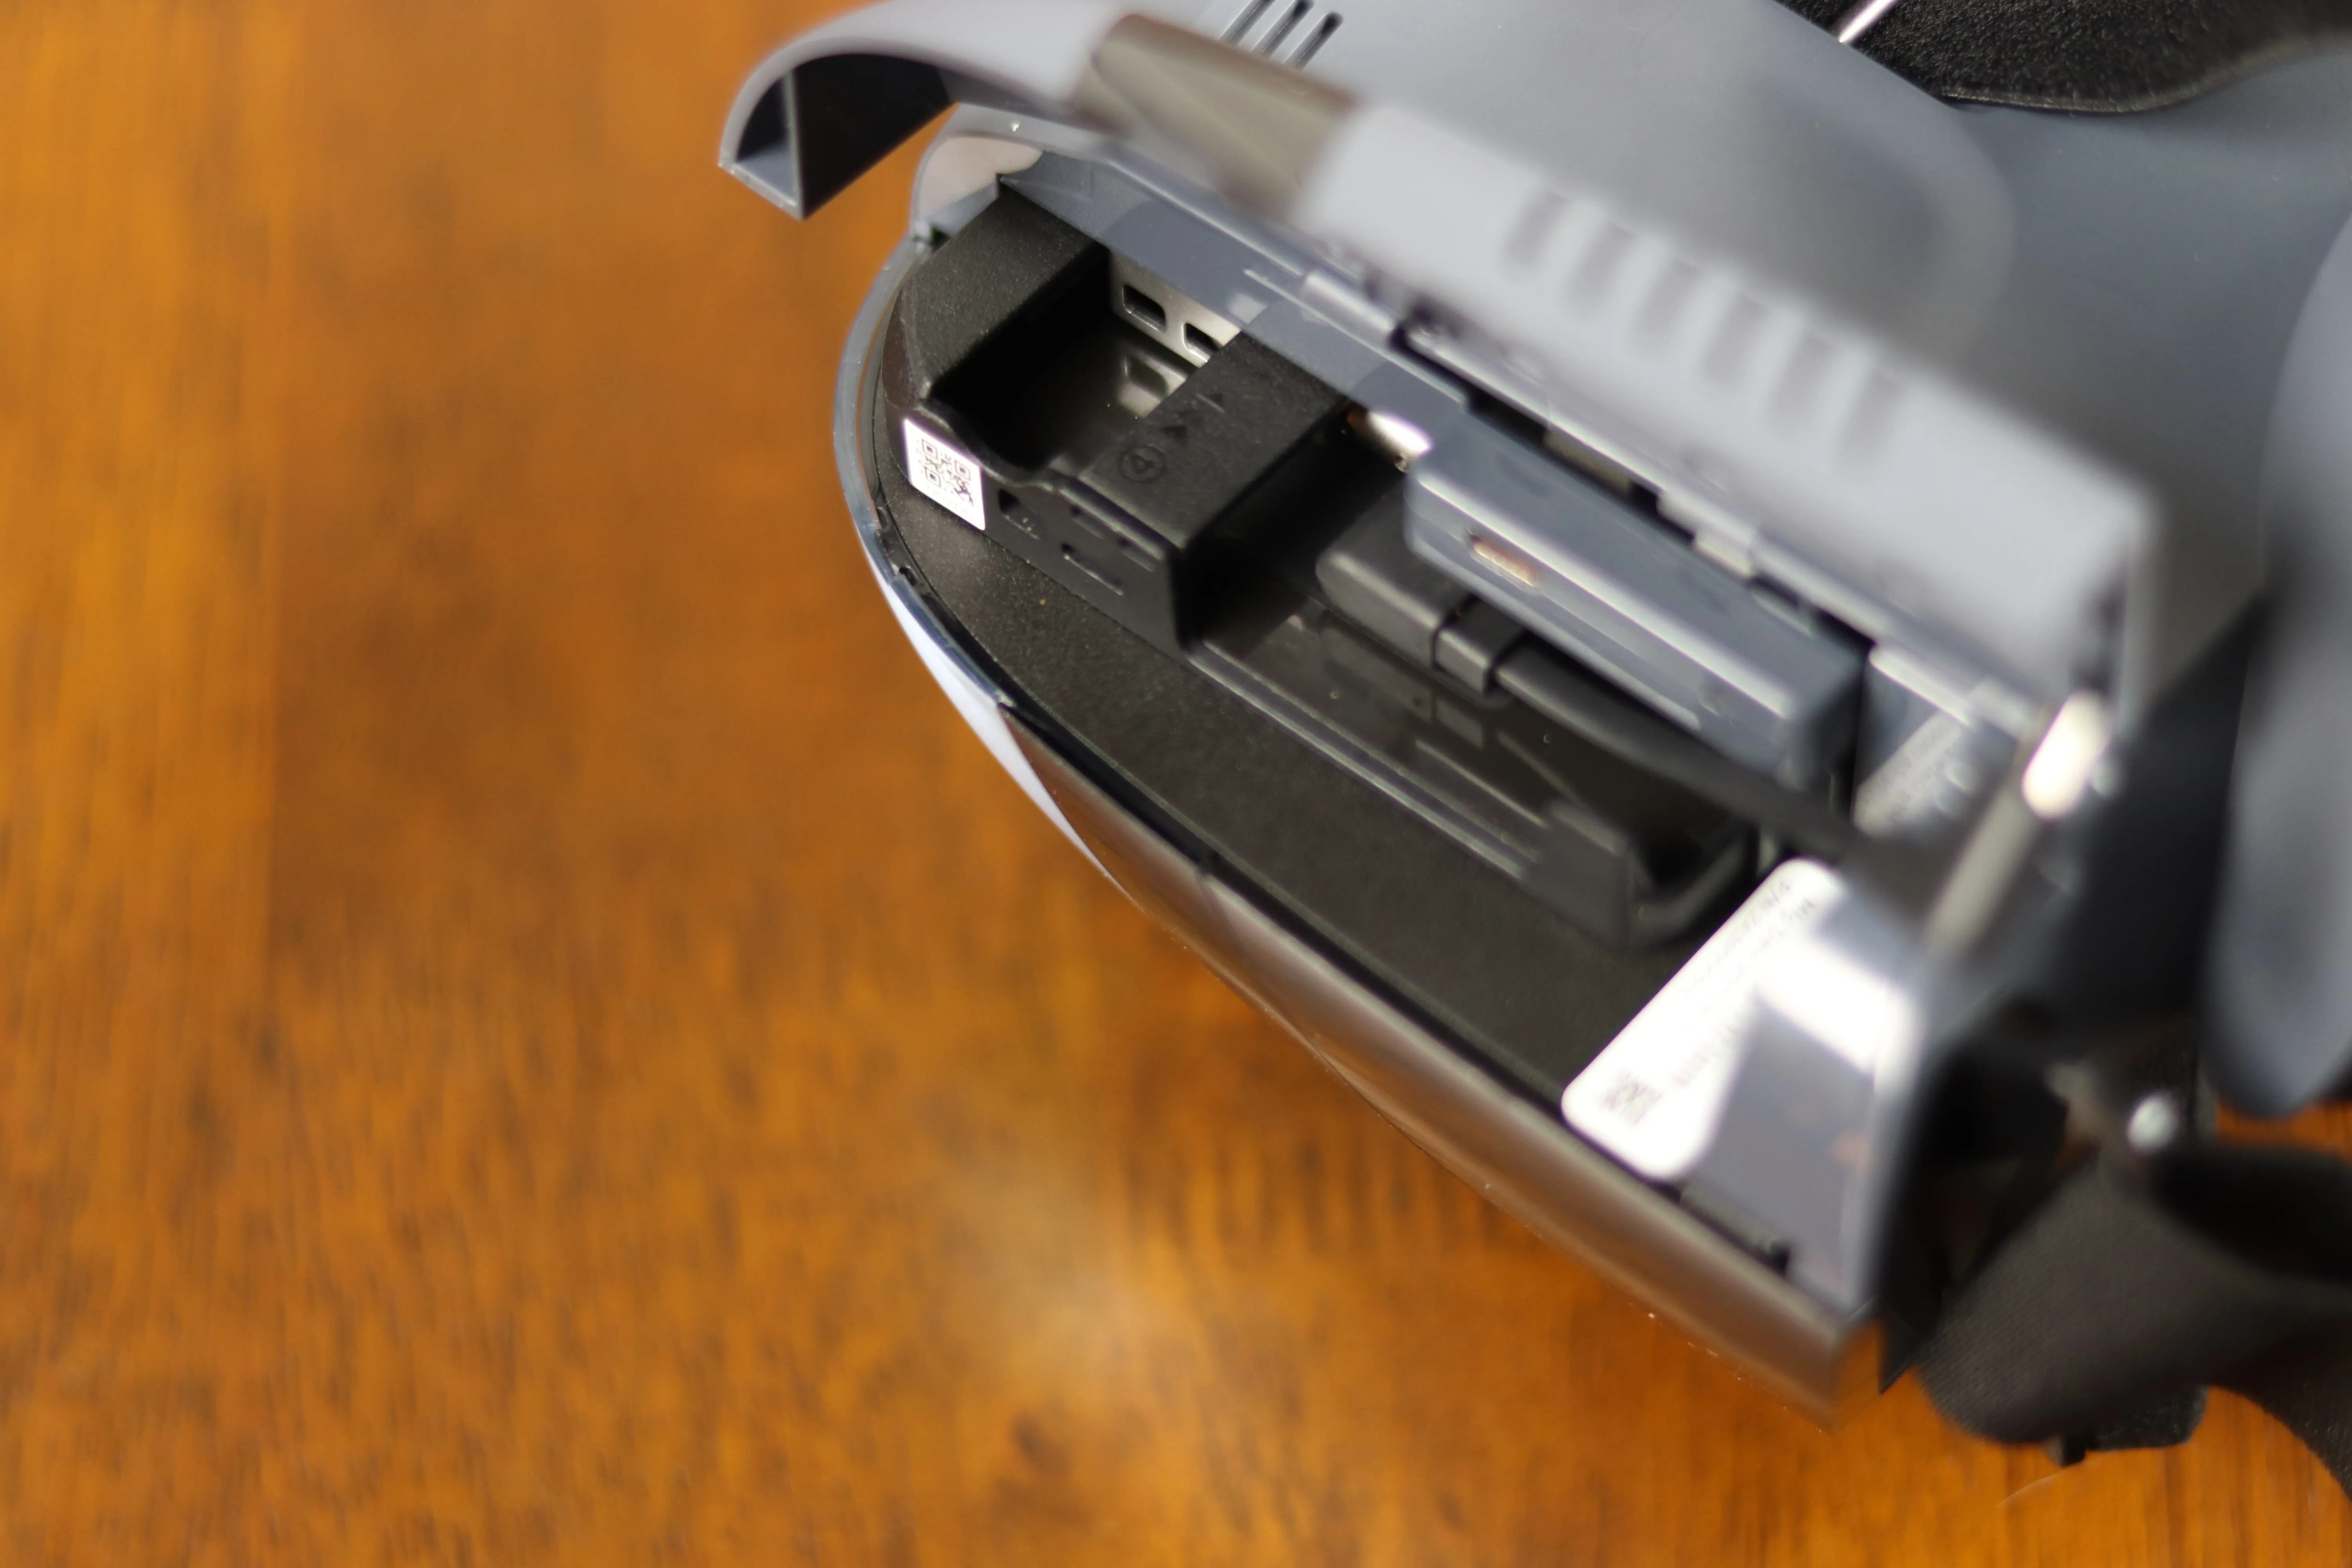
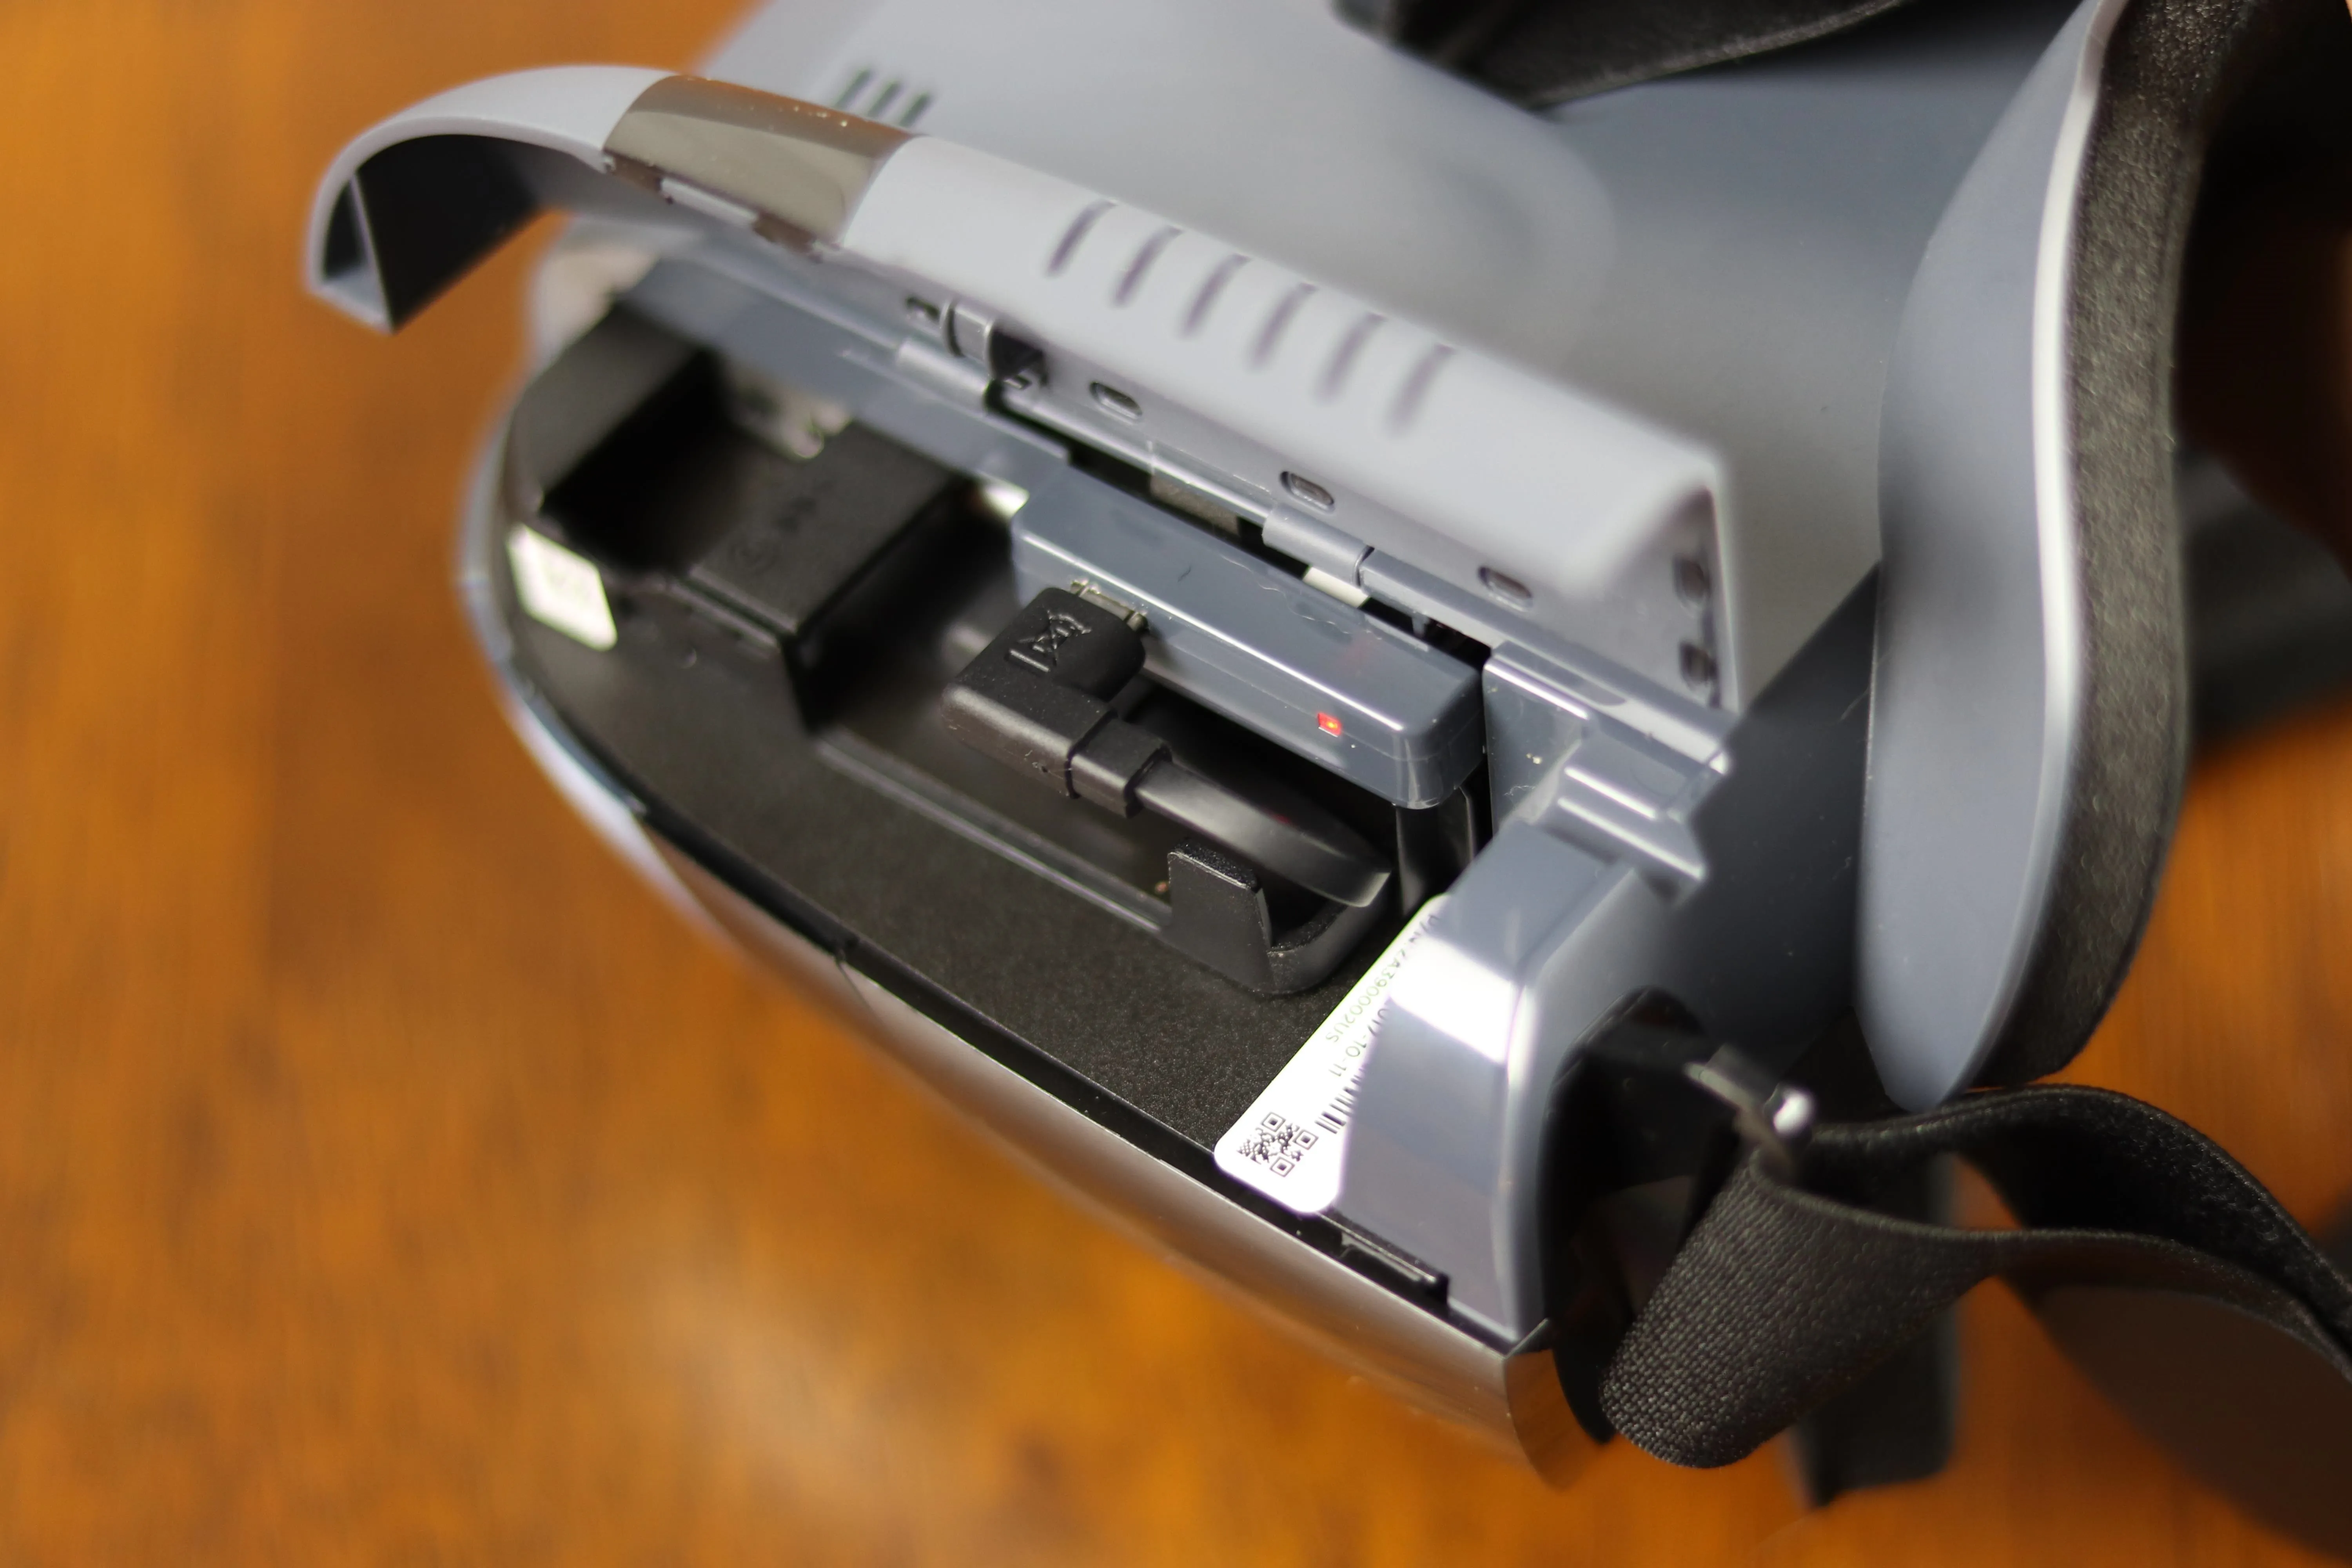
With the Mirage AR headset facing you, on the right side of the device, open its side panel to find the slot for the smartphone tray. You should see the slot for the smartphone, as well as a Micro-USB port and a small LED indicator.

Jason Odom/Next Reality
Jason Odom/Next Reality
Jason Odom/Next Reality
Jason Odom/Next Reality
Jason Odom/Next Reality
Jason Odom/Next Reality
Open the Smartphone Tray
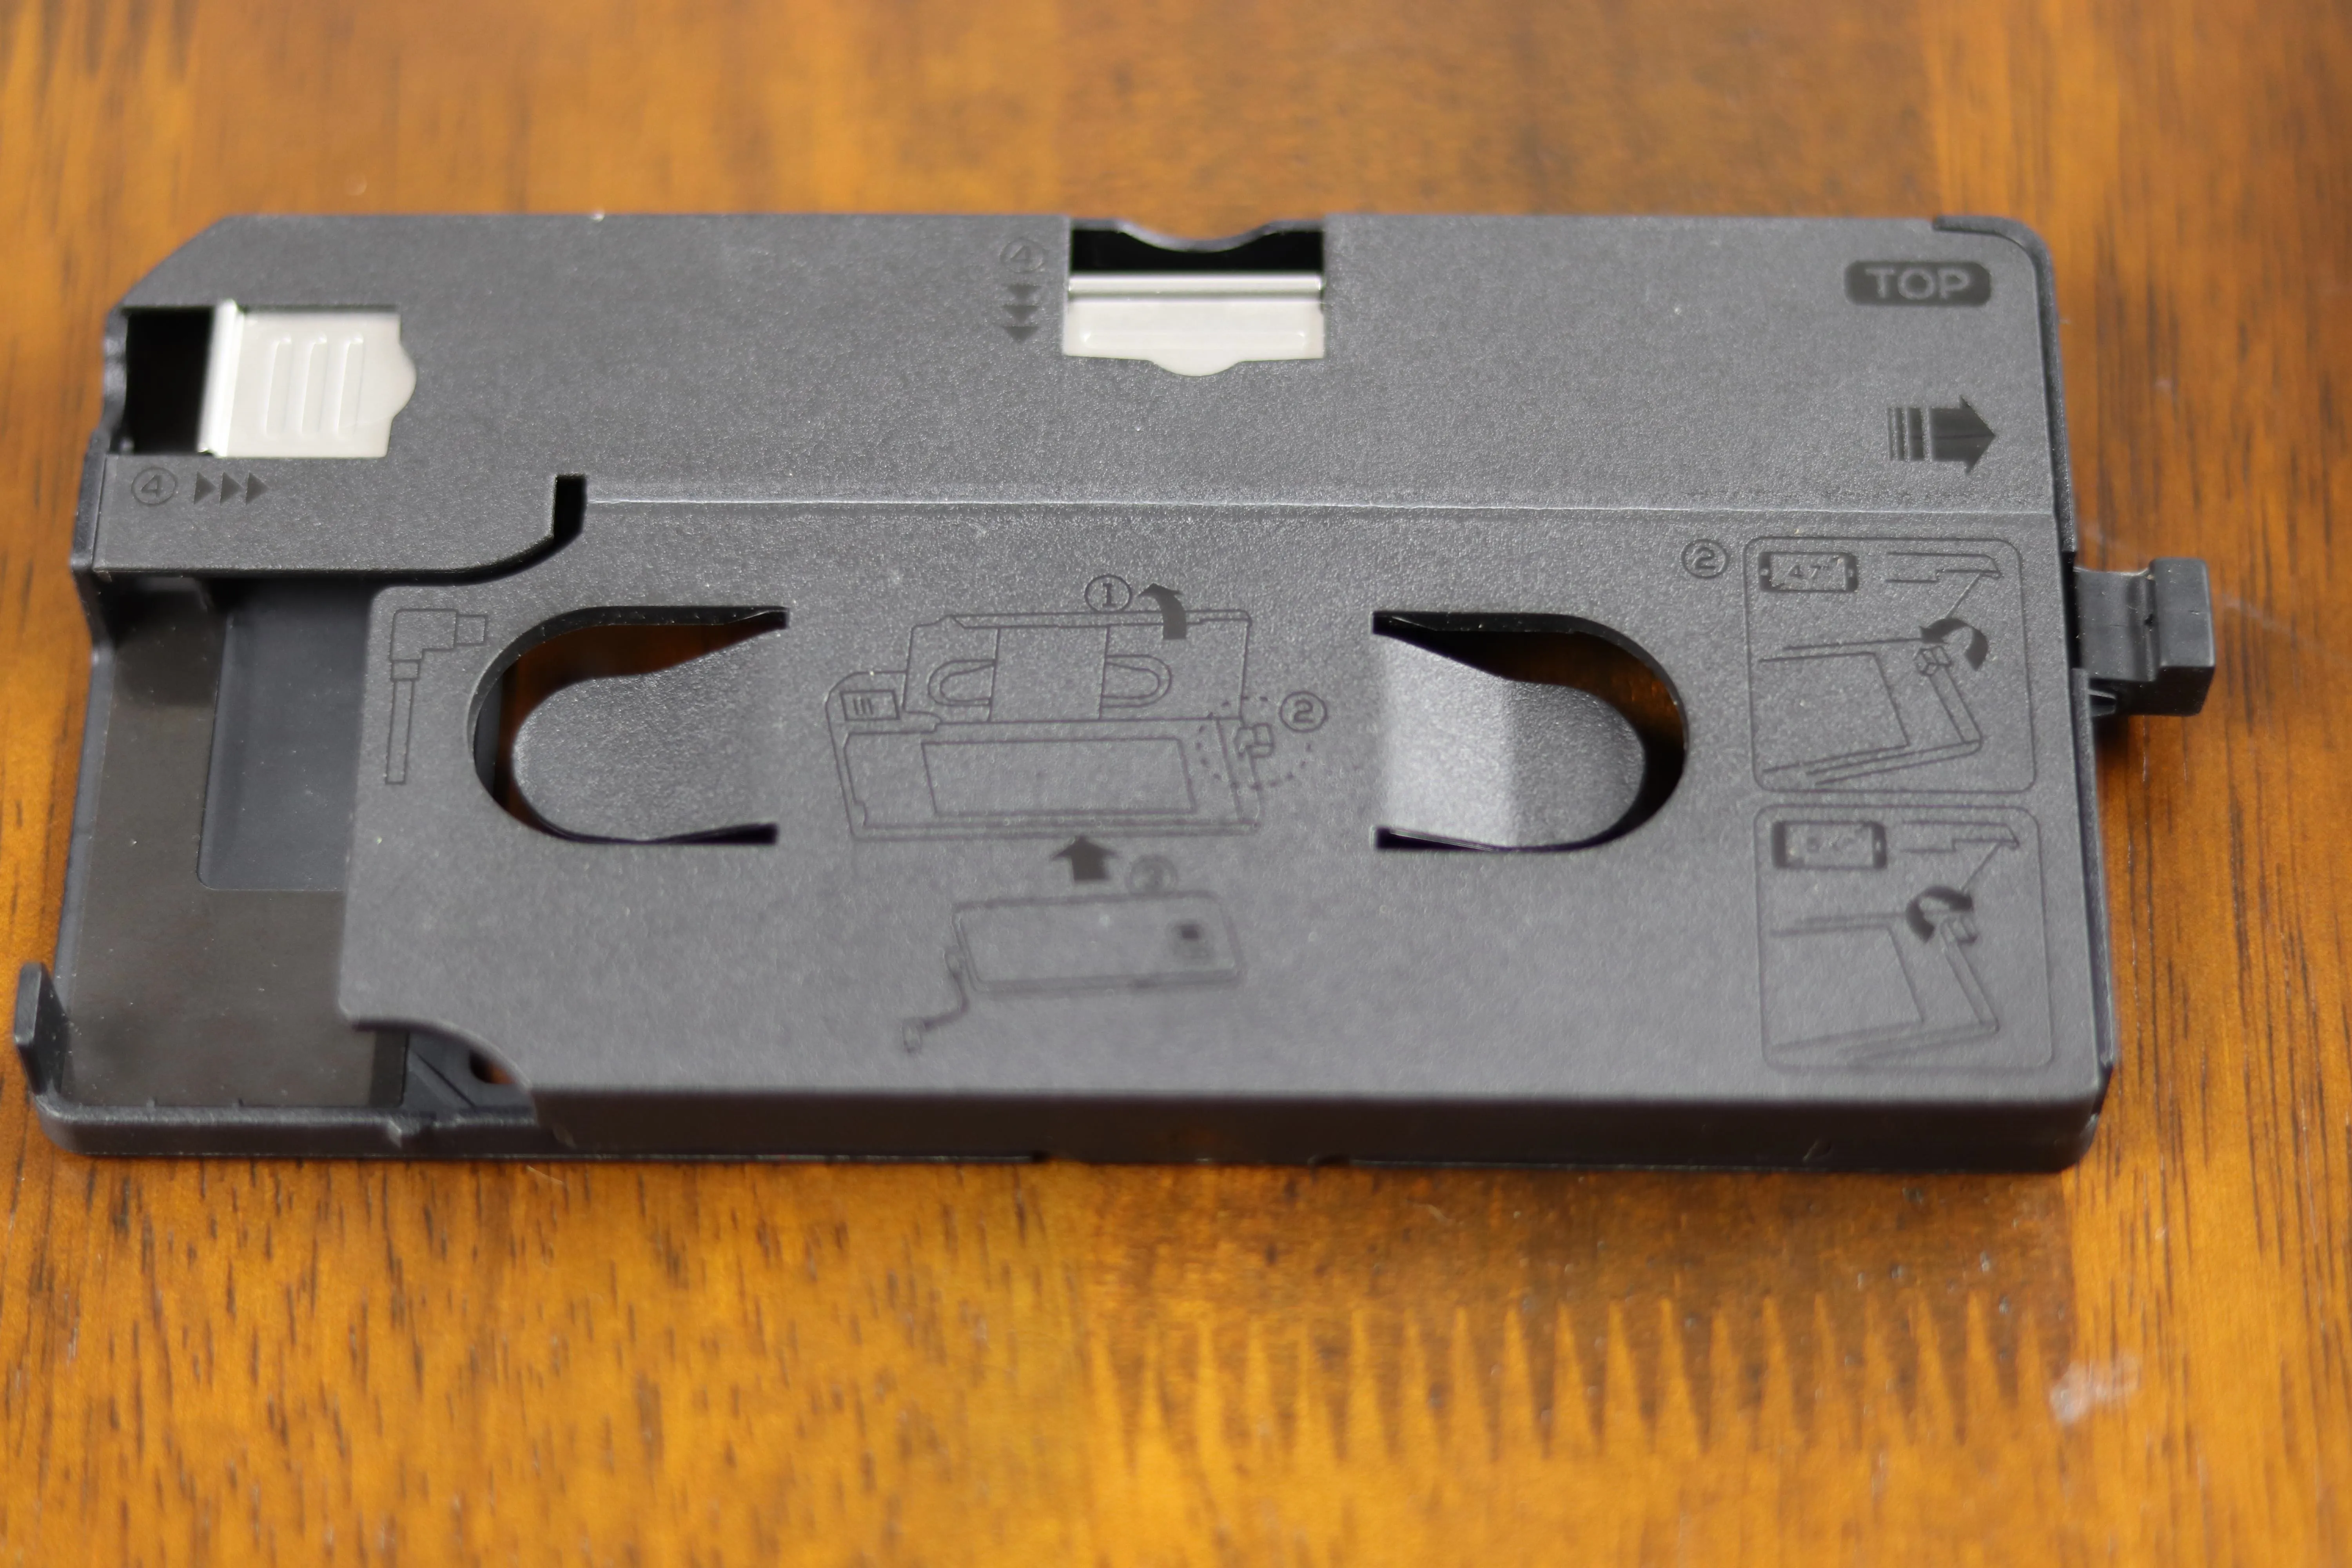
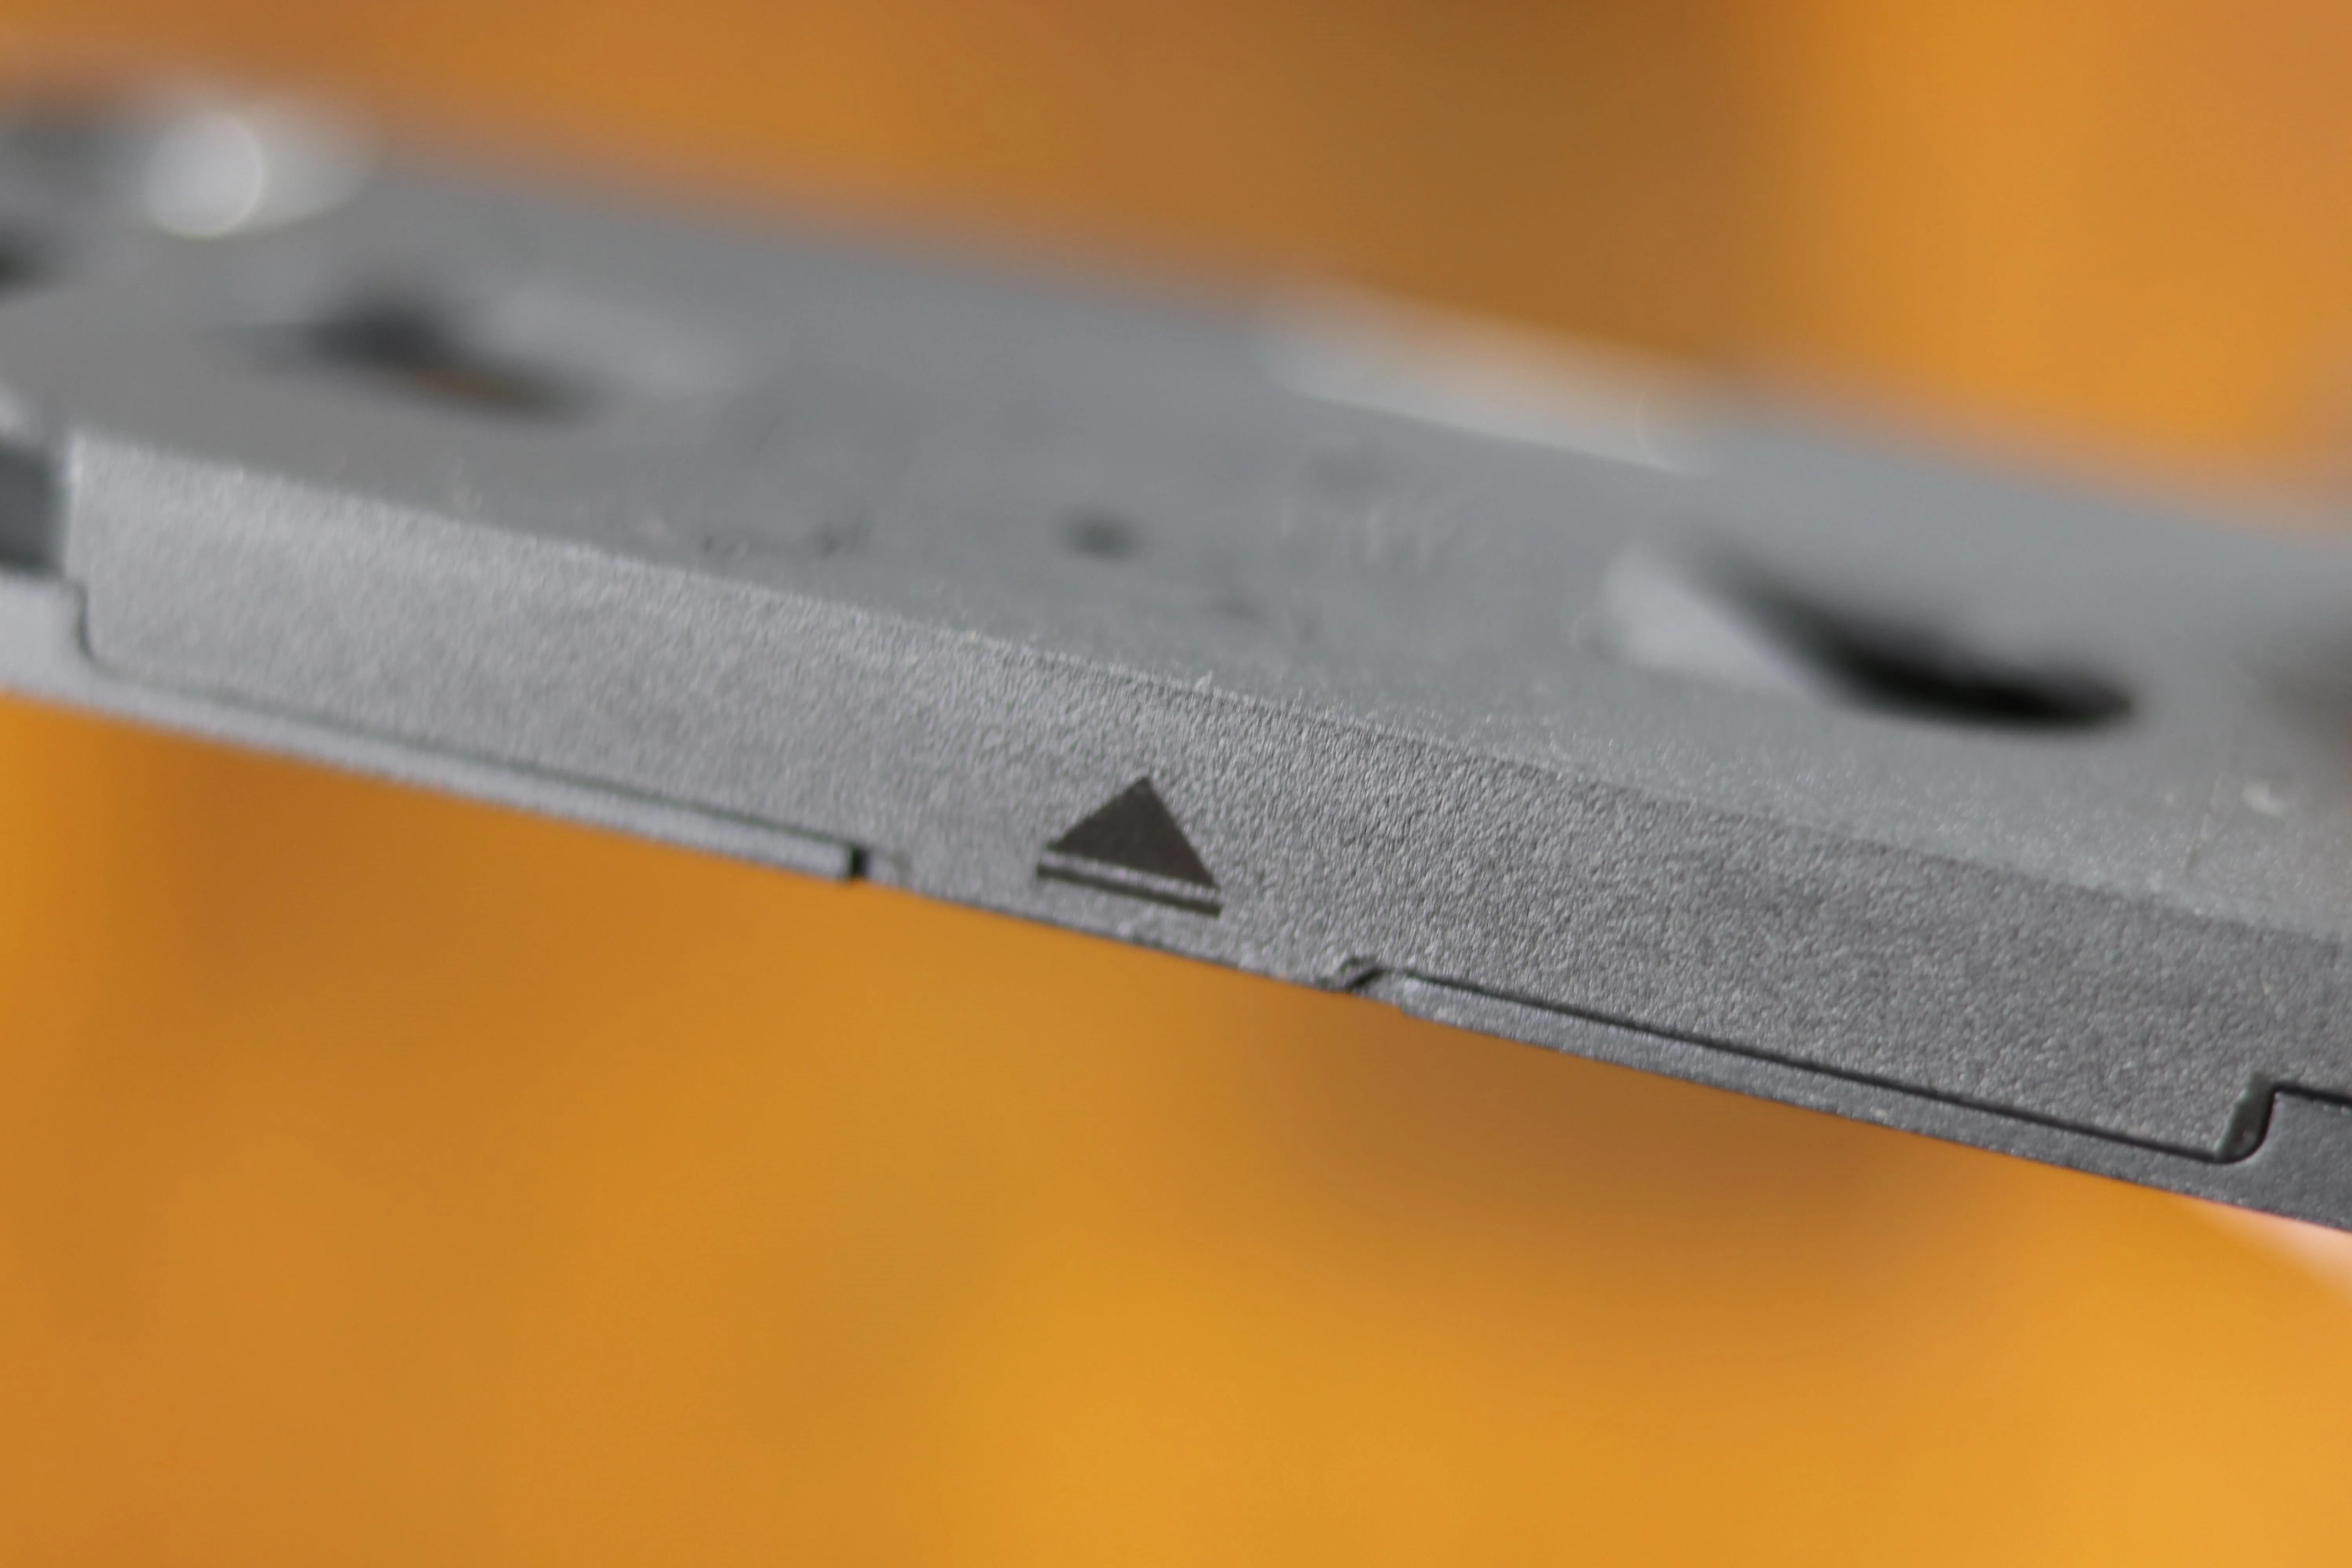
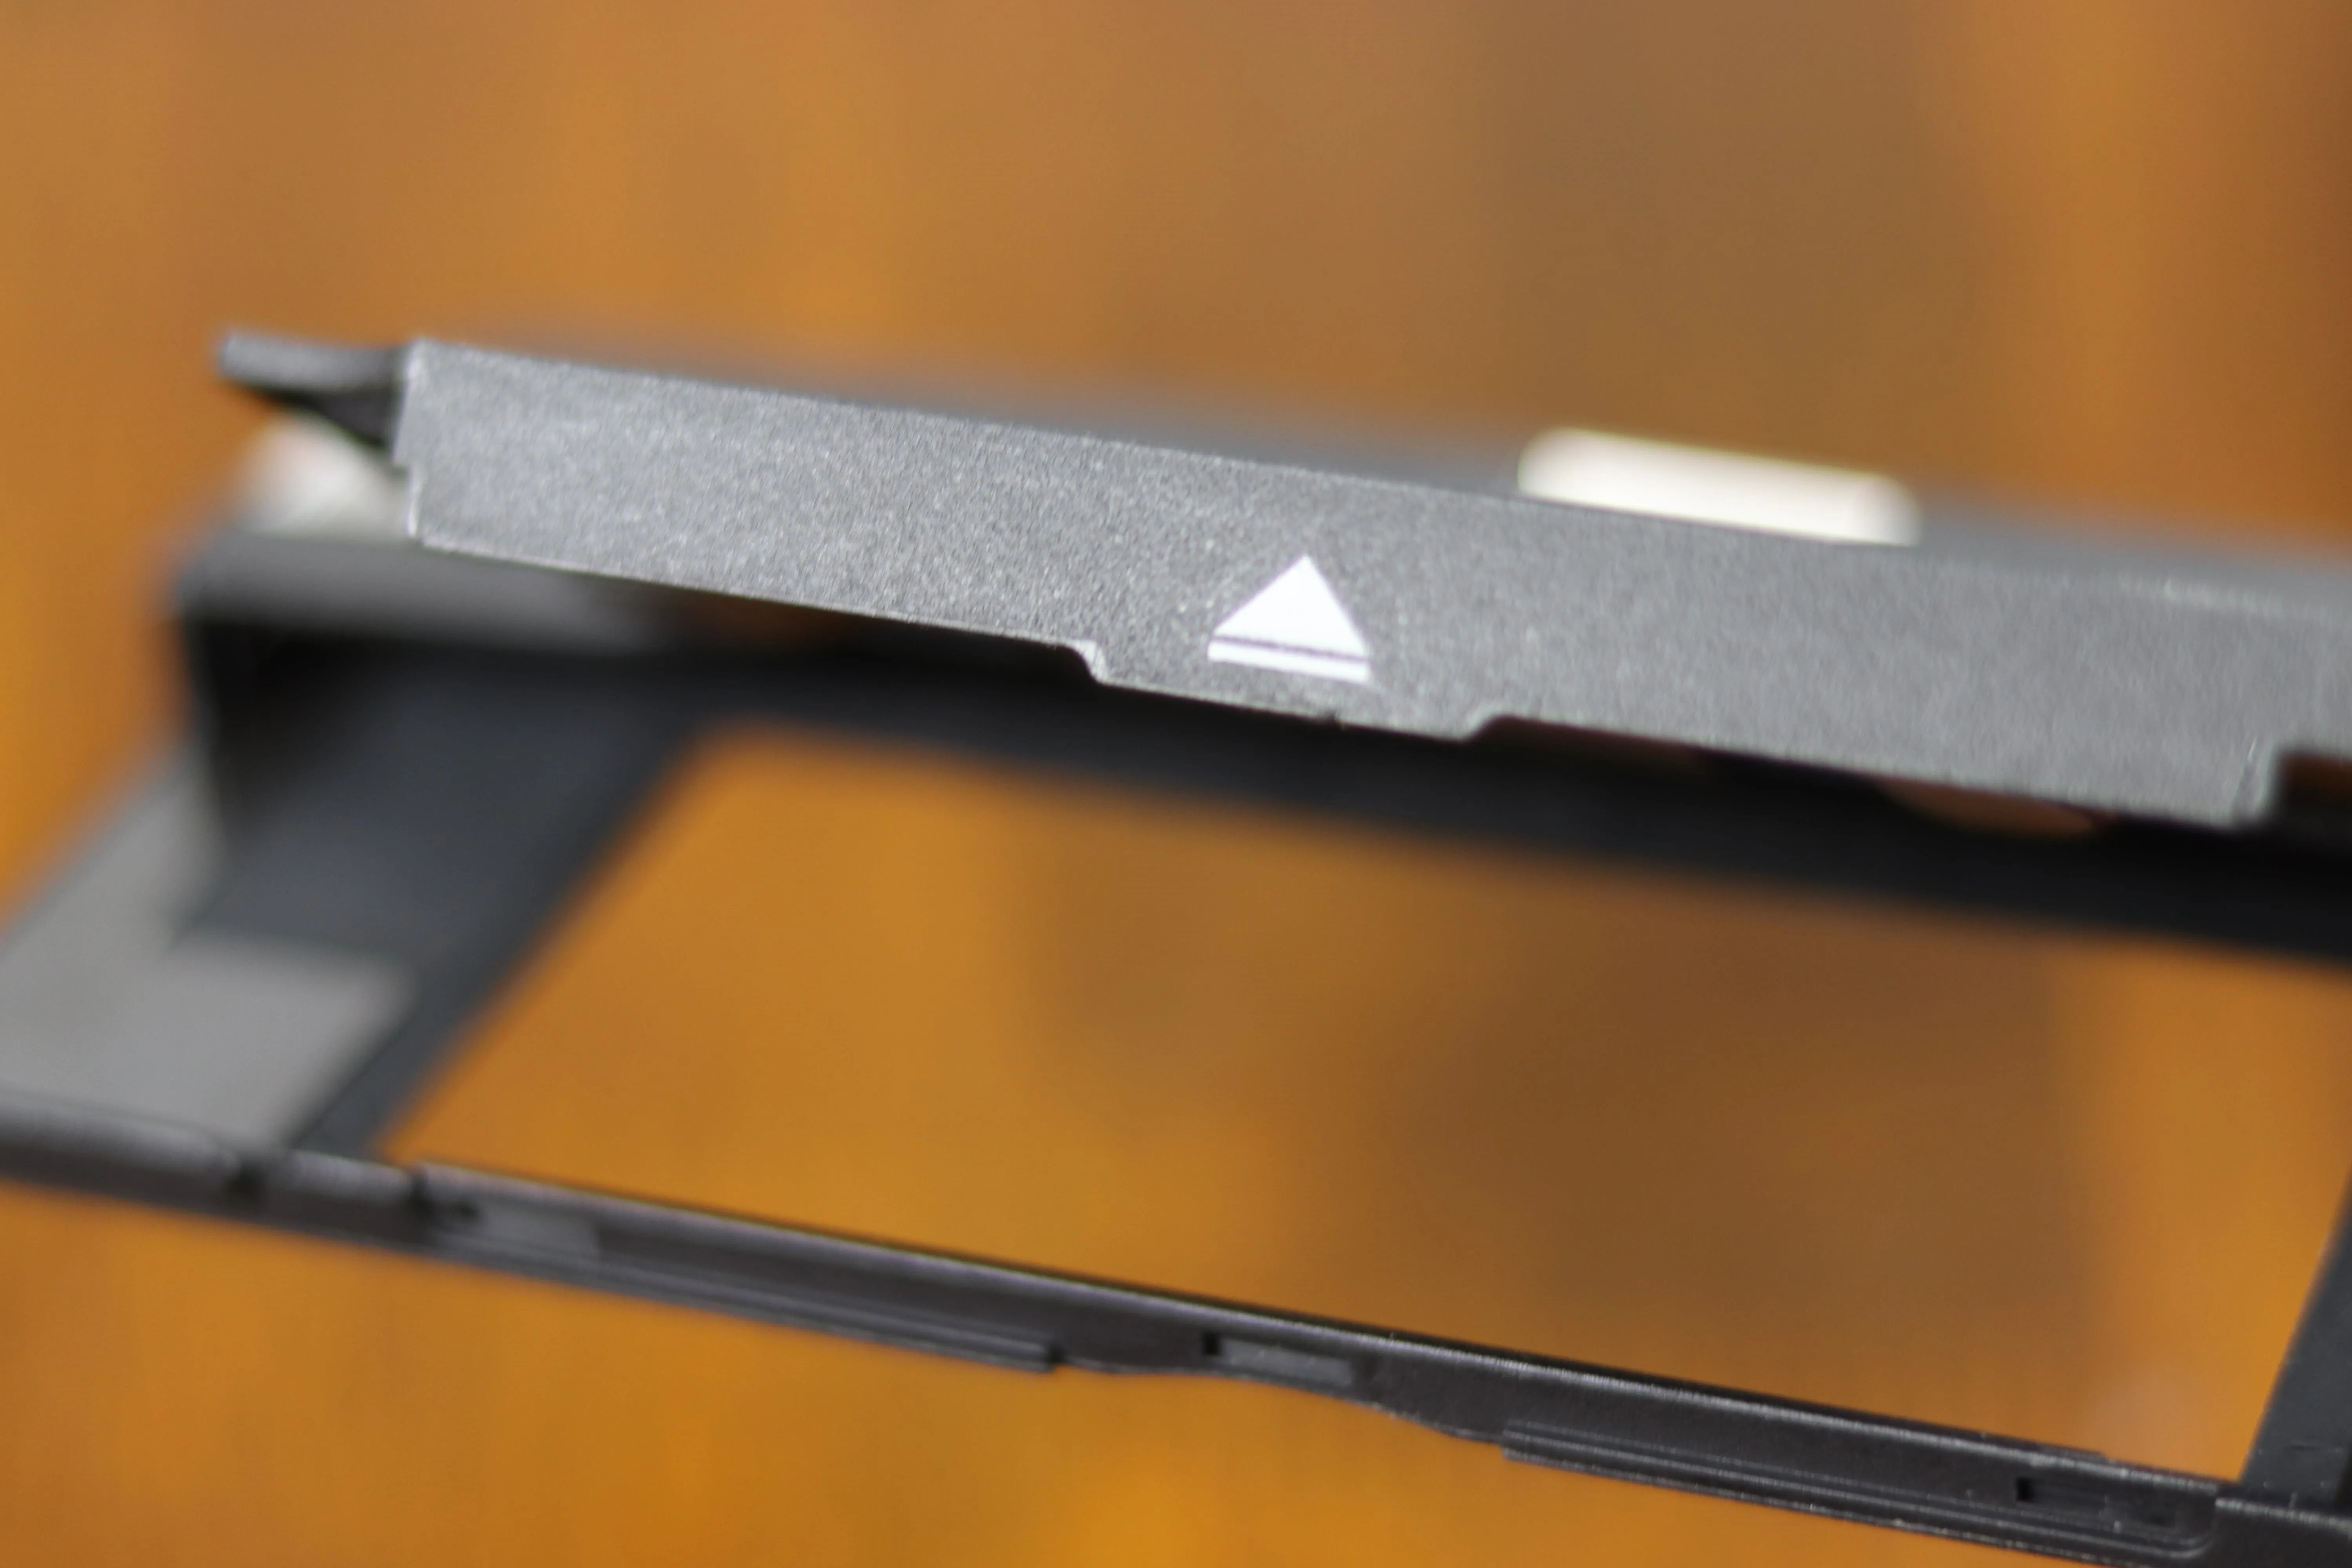
Below is a picture of the insert sleeve itself, which Lenovo calls a phone tray. Note the big open space on the lower left side. Assuming the sleeve is closed, find the arrow on the thin side of the sleeve and pull in the direction the arrow indicates to open the lid.
Jason Odom/Next Reality
Jason Odom/Next Reality
Jason Odom/Next Reality
Jason Odom/Next Reality
Jason Odom/Next Reality
Jason Odom/Next Reality
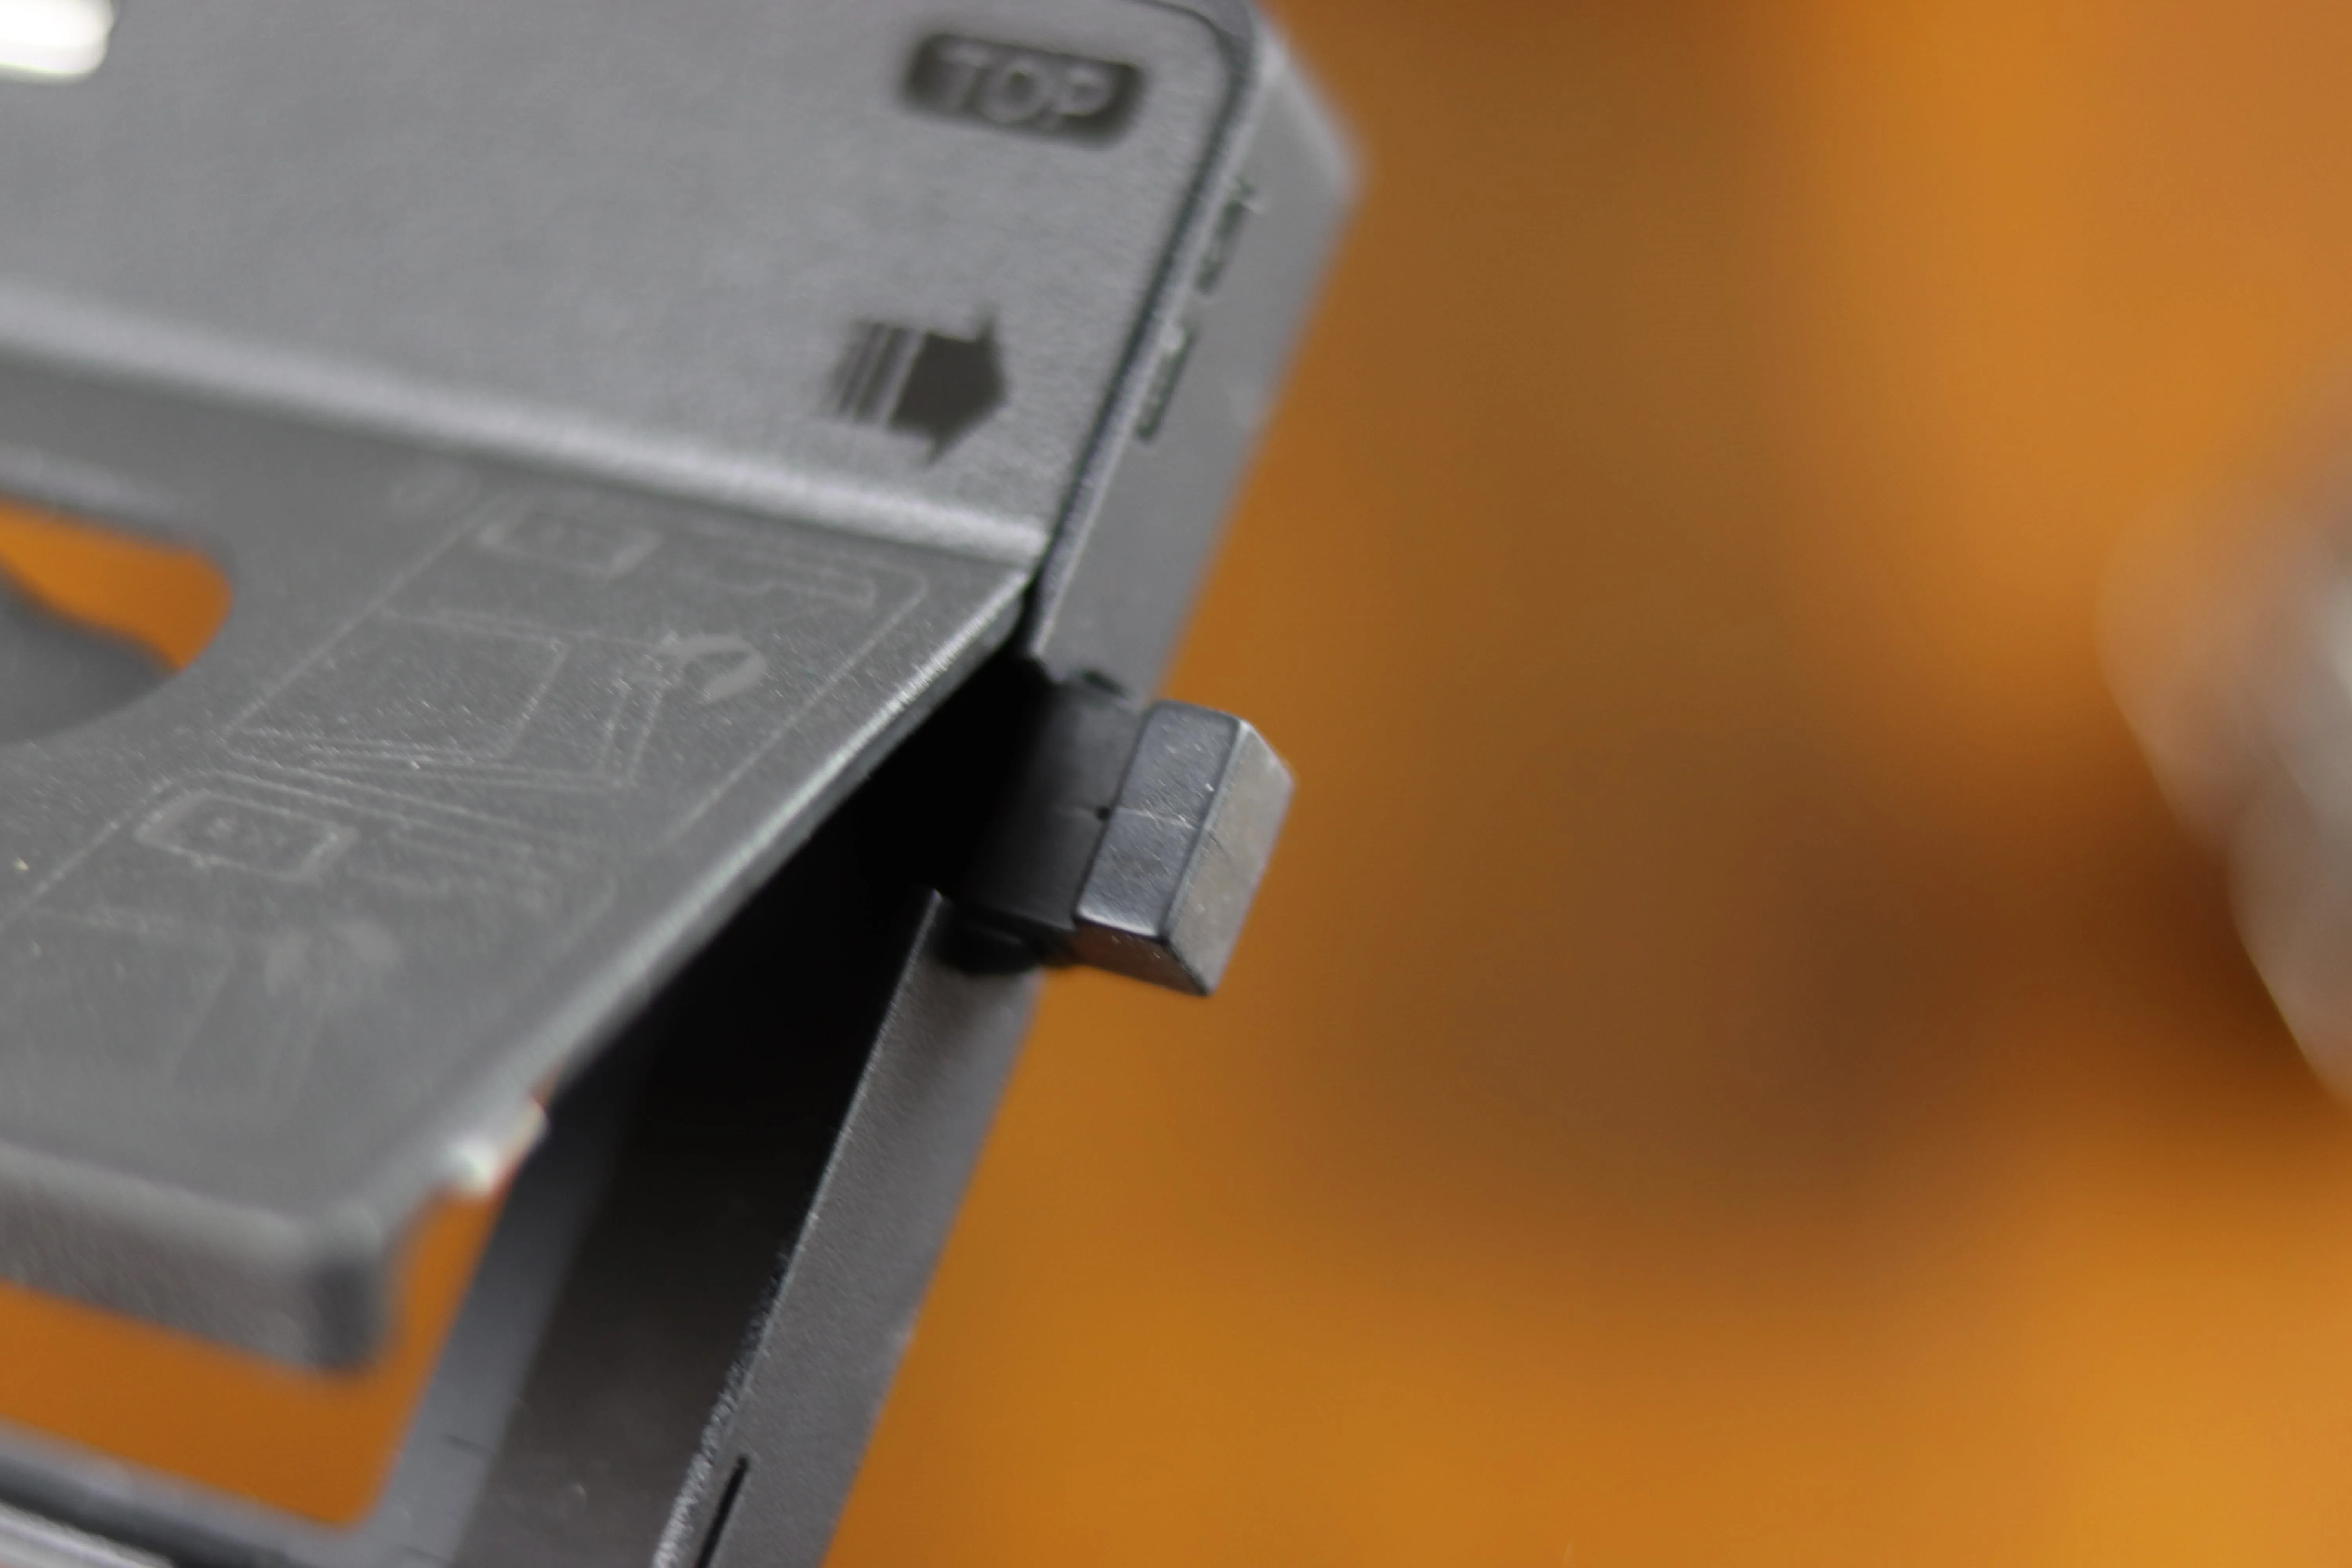
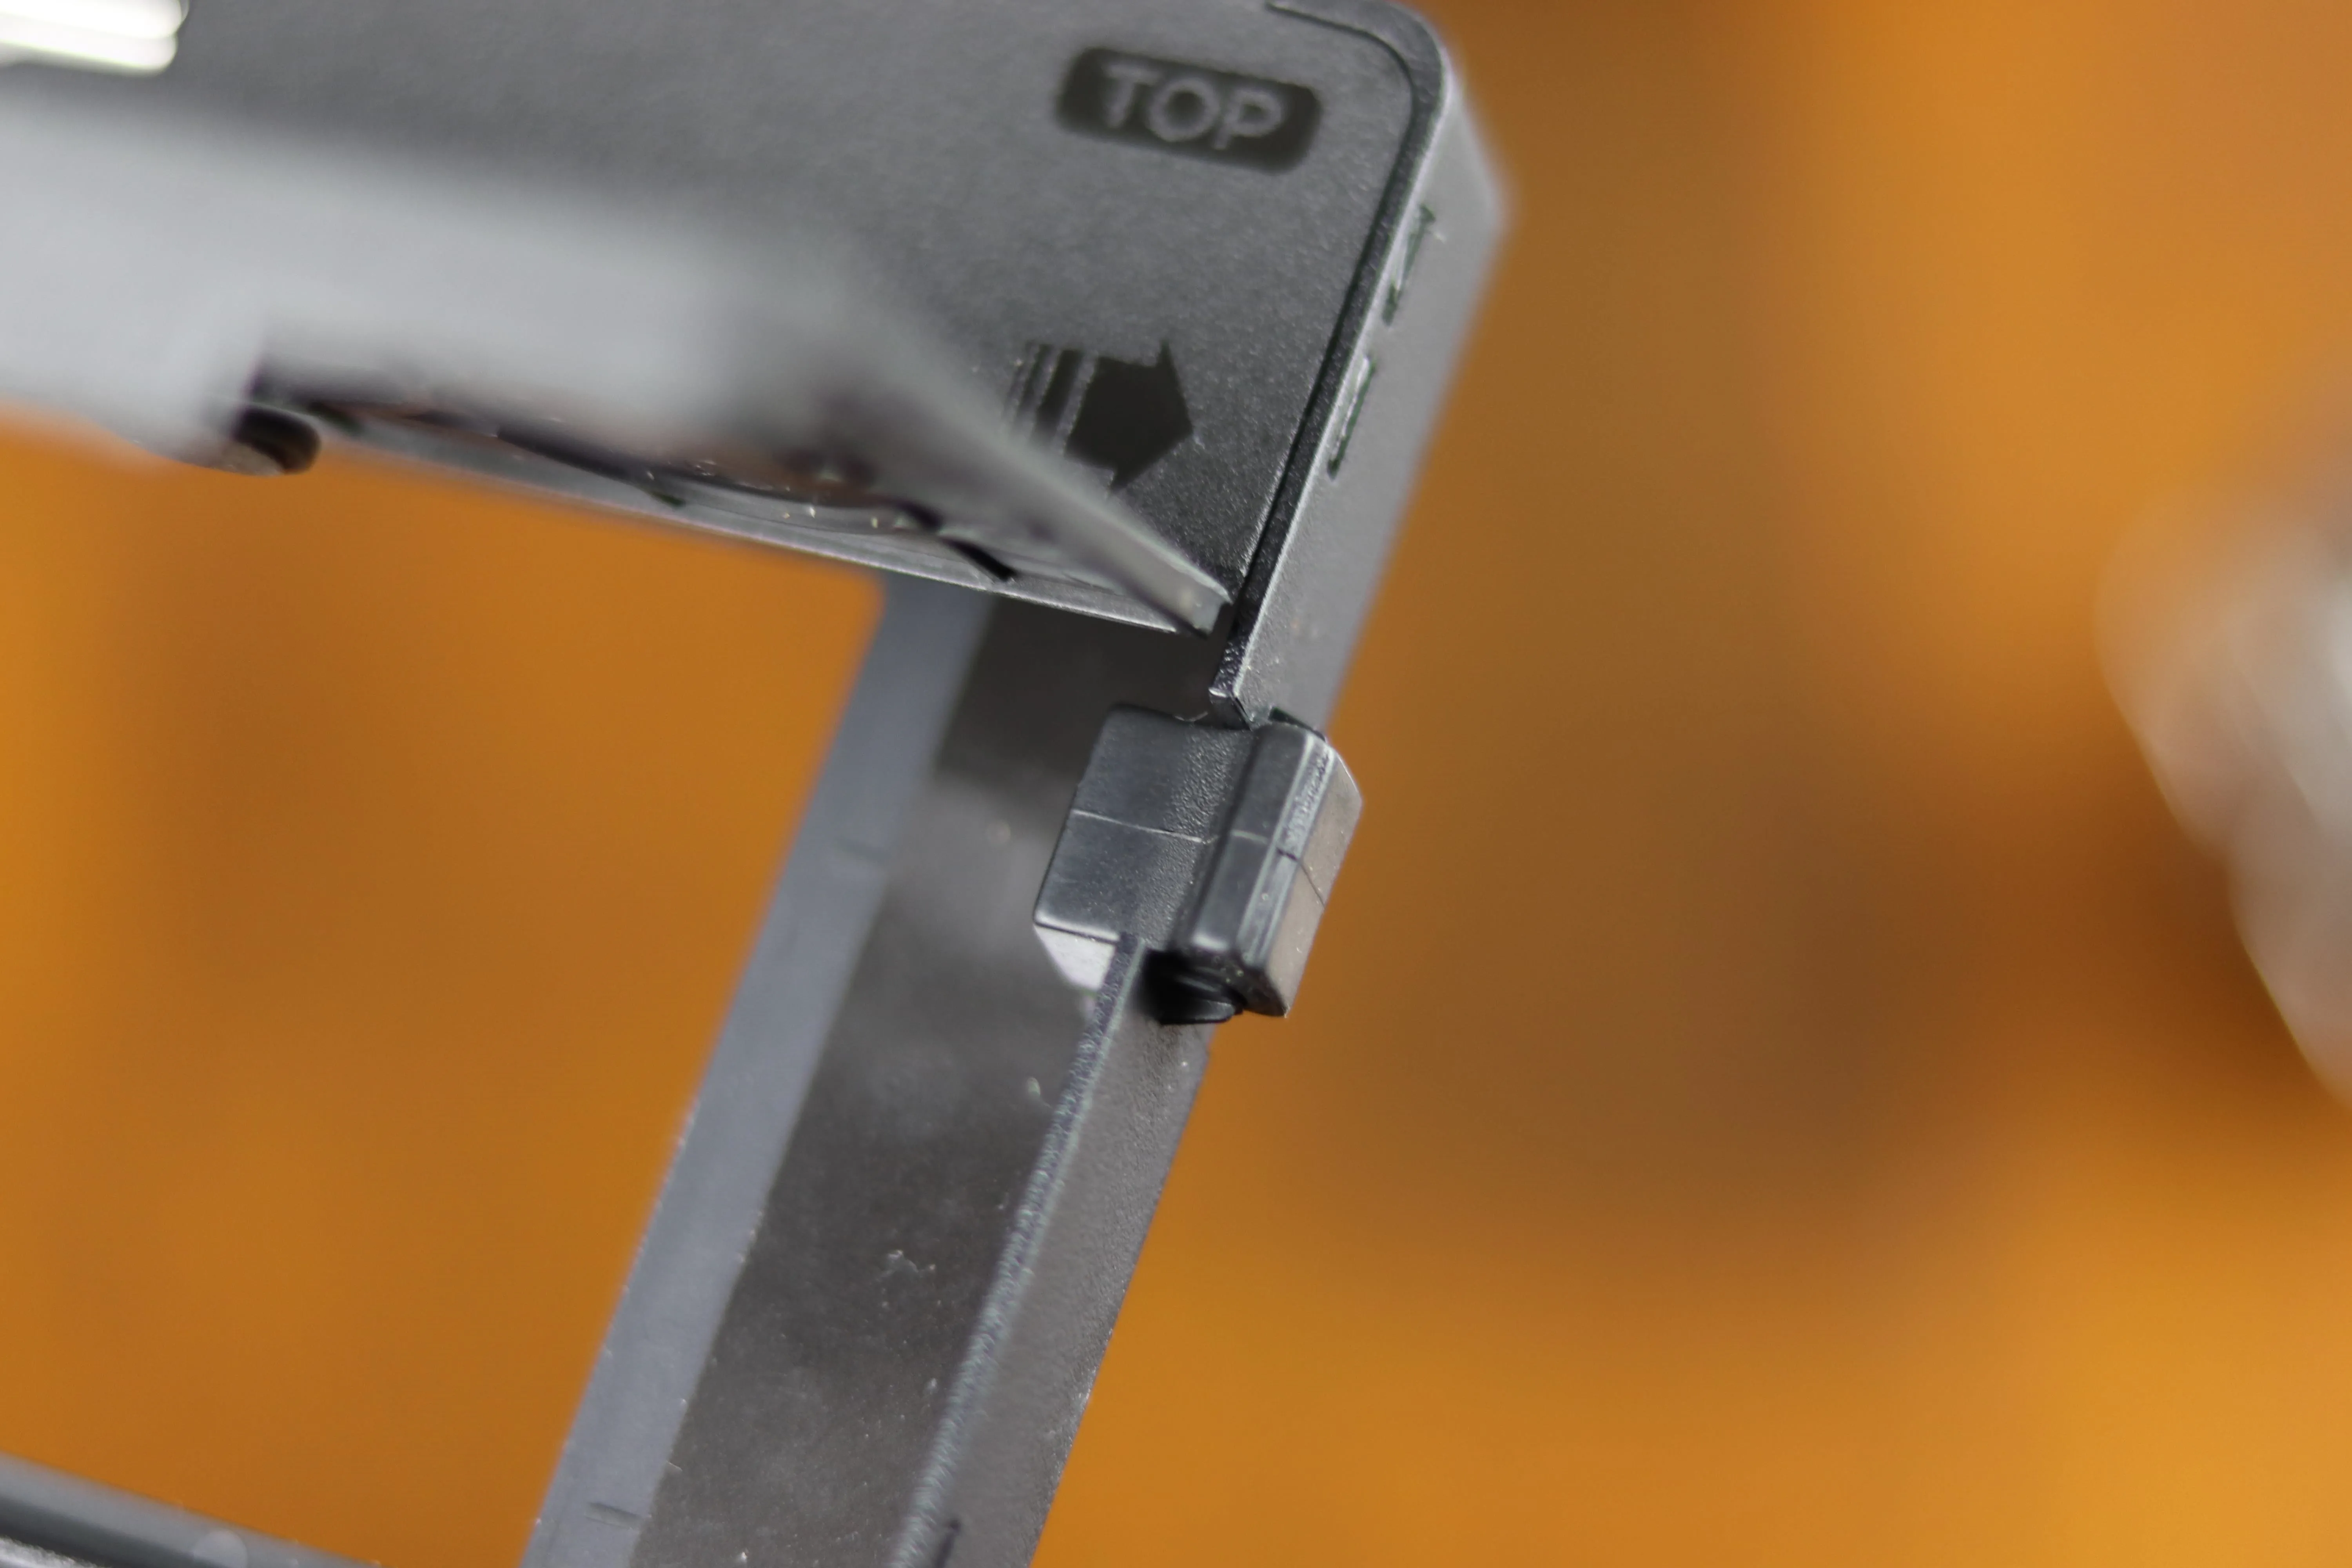
Unless your smartphone has a screen that is less than 5 inches, make sure the tab on the right-hand side is opened the entire way. It can sometimes get in the way. If the smartphone you are using has less than a 5-inch screen, flip the tab inside the sleeve to work as a spacer.
Jason Odom/Next Reality
Jason Odom/Next Reality
Jason Odom/Next Reality
Jason Odom/Next Reality
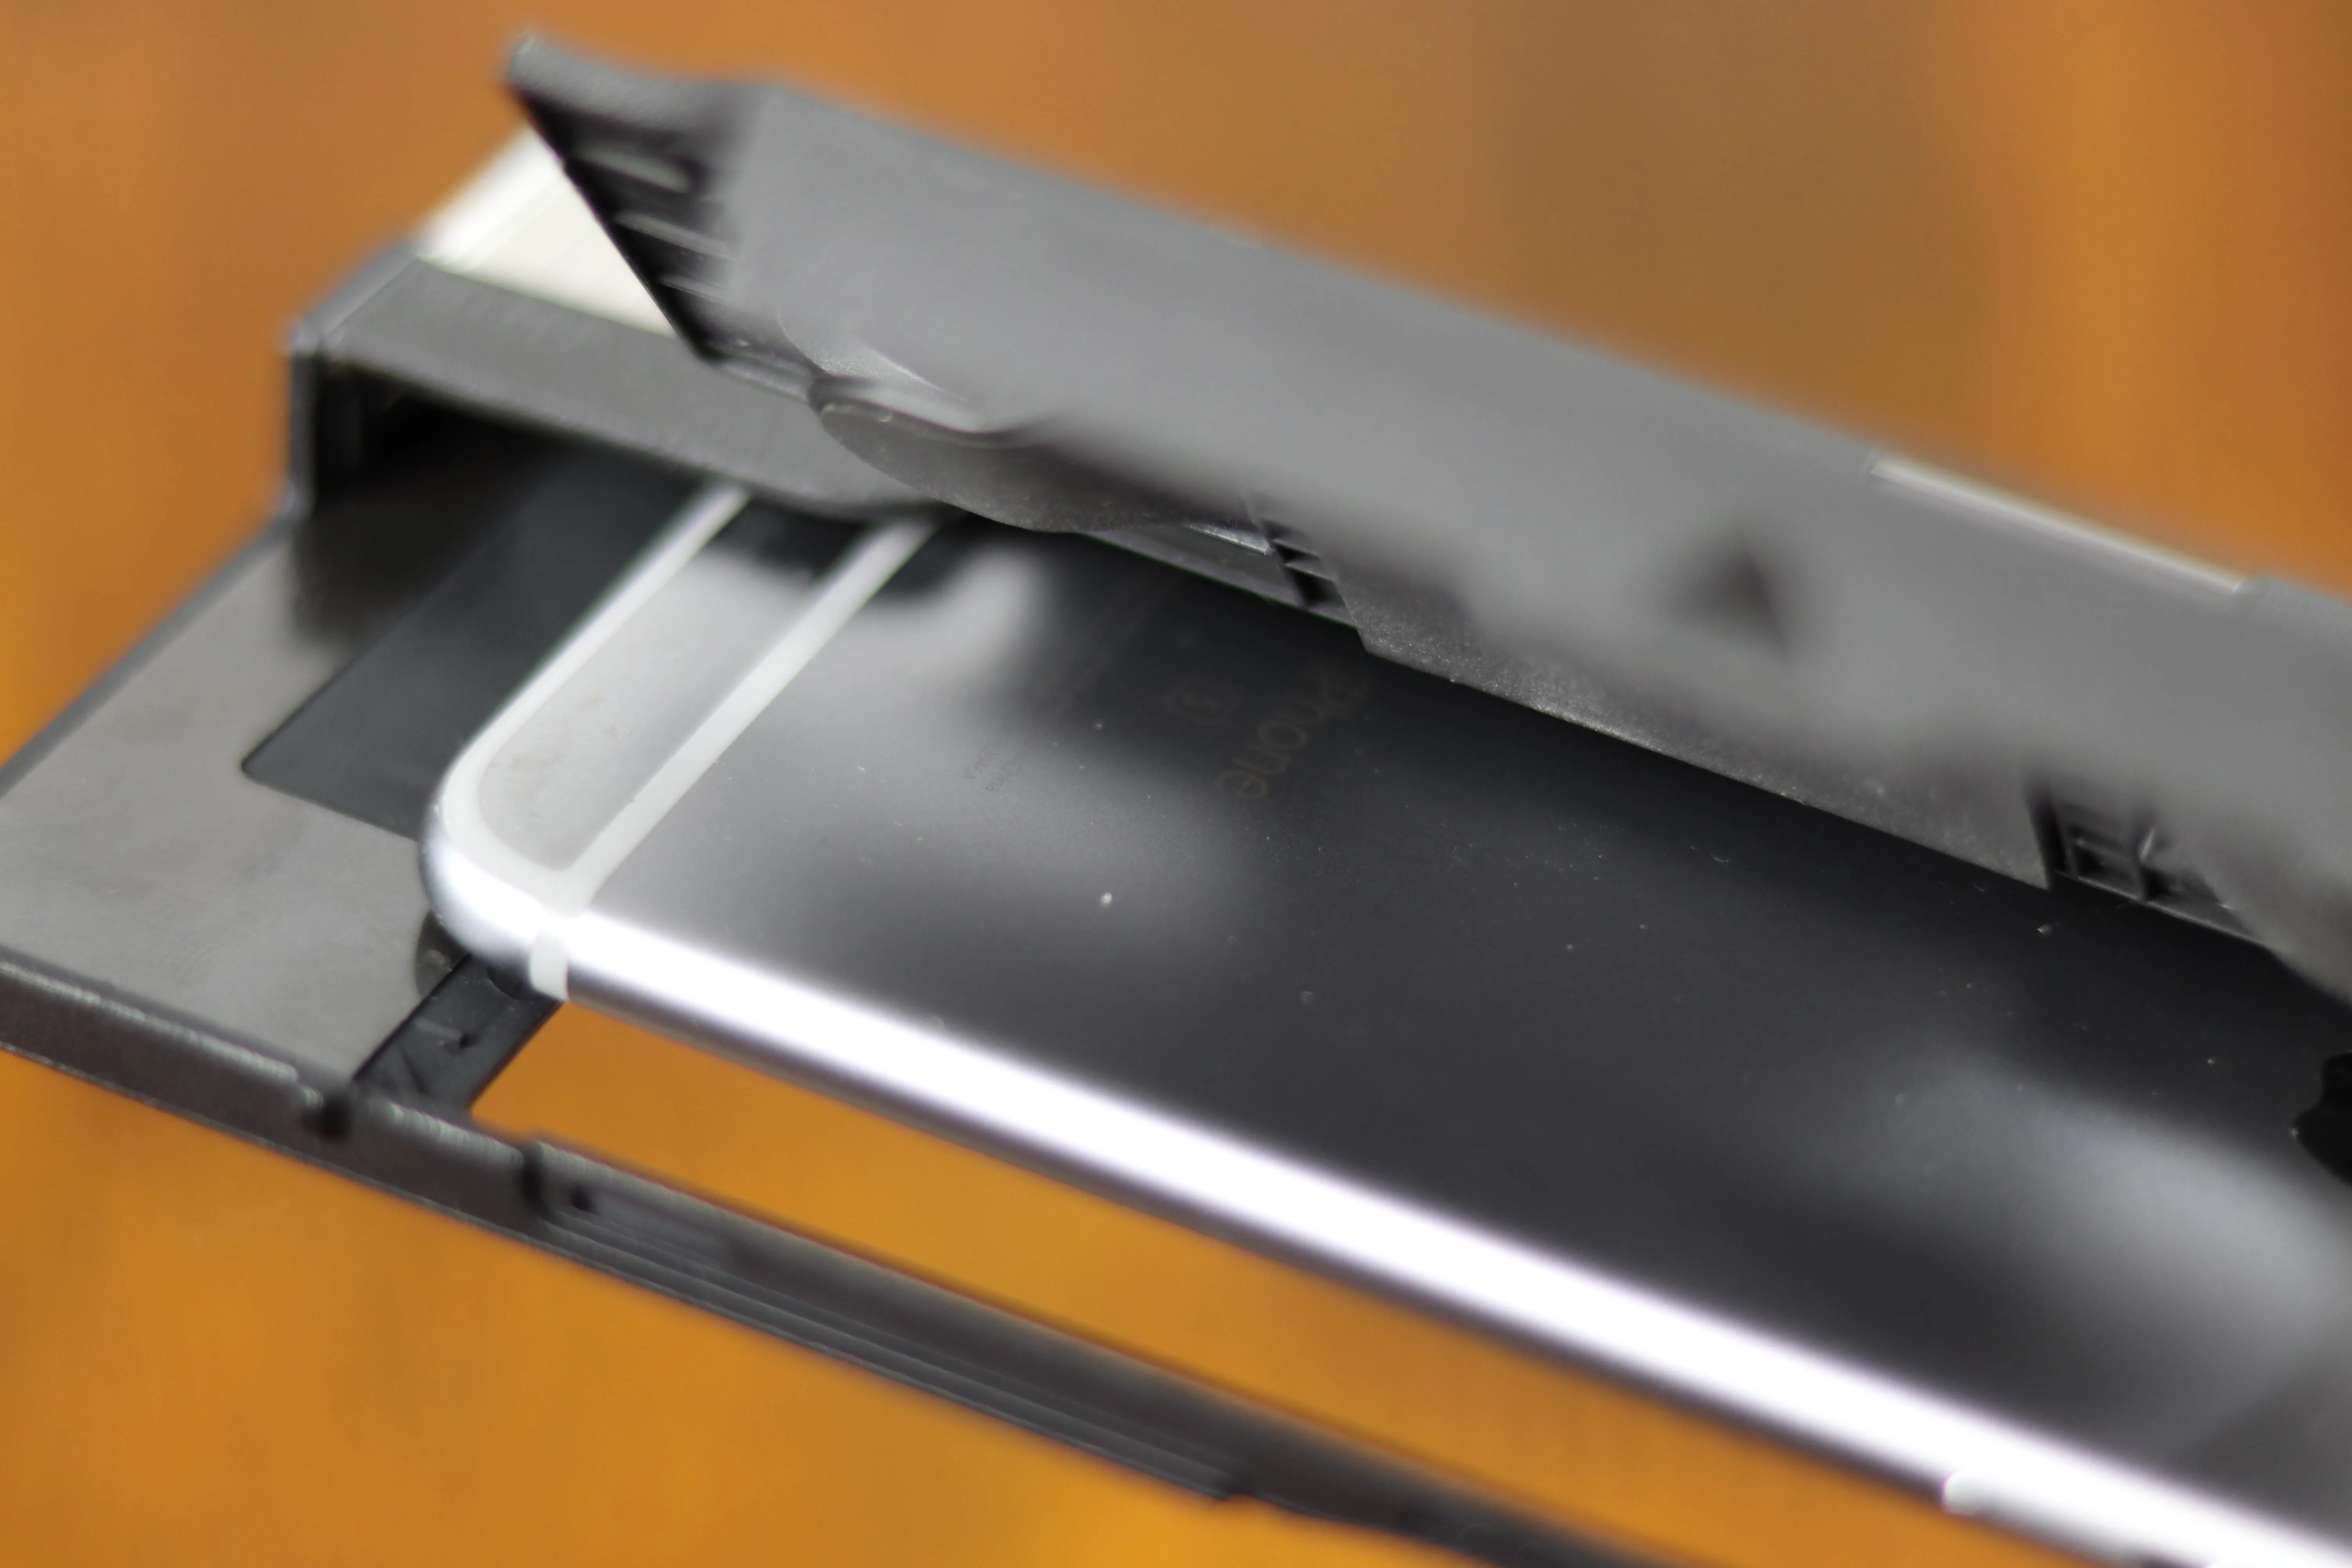
Put Your Smartphone in the Tray
Now we need to put the smartphone into the sleeve. Slide it in face down with its charging port toward the left open space, which is where the tiny Micro-USB cable will be contained, then snap the lid closed. Obviously, you'll need to take off your smartphone case if you have one on it, otherwise, it won't fit correctly.
Jason Odom/Next Reality
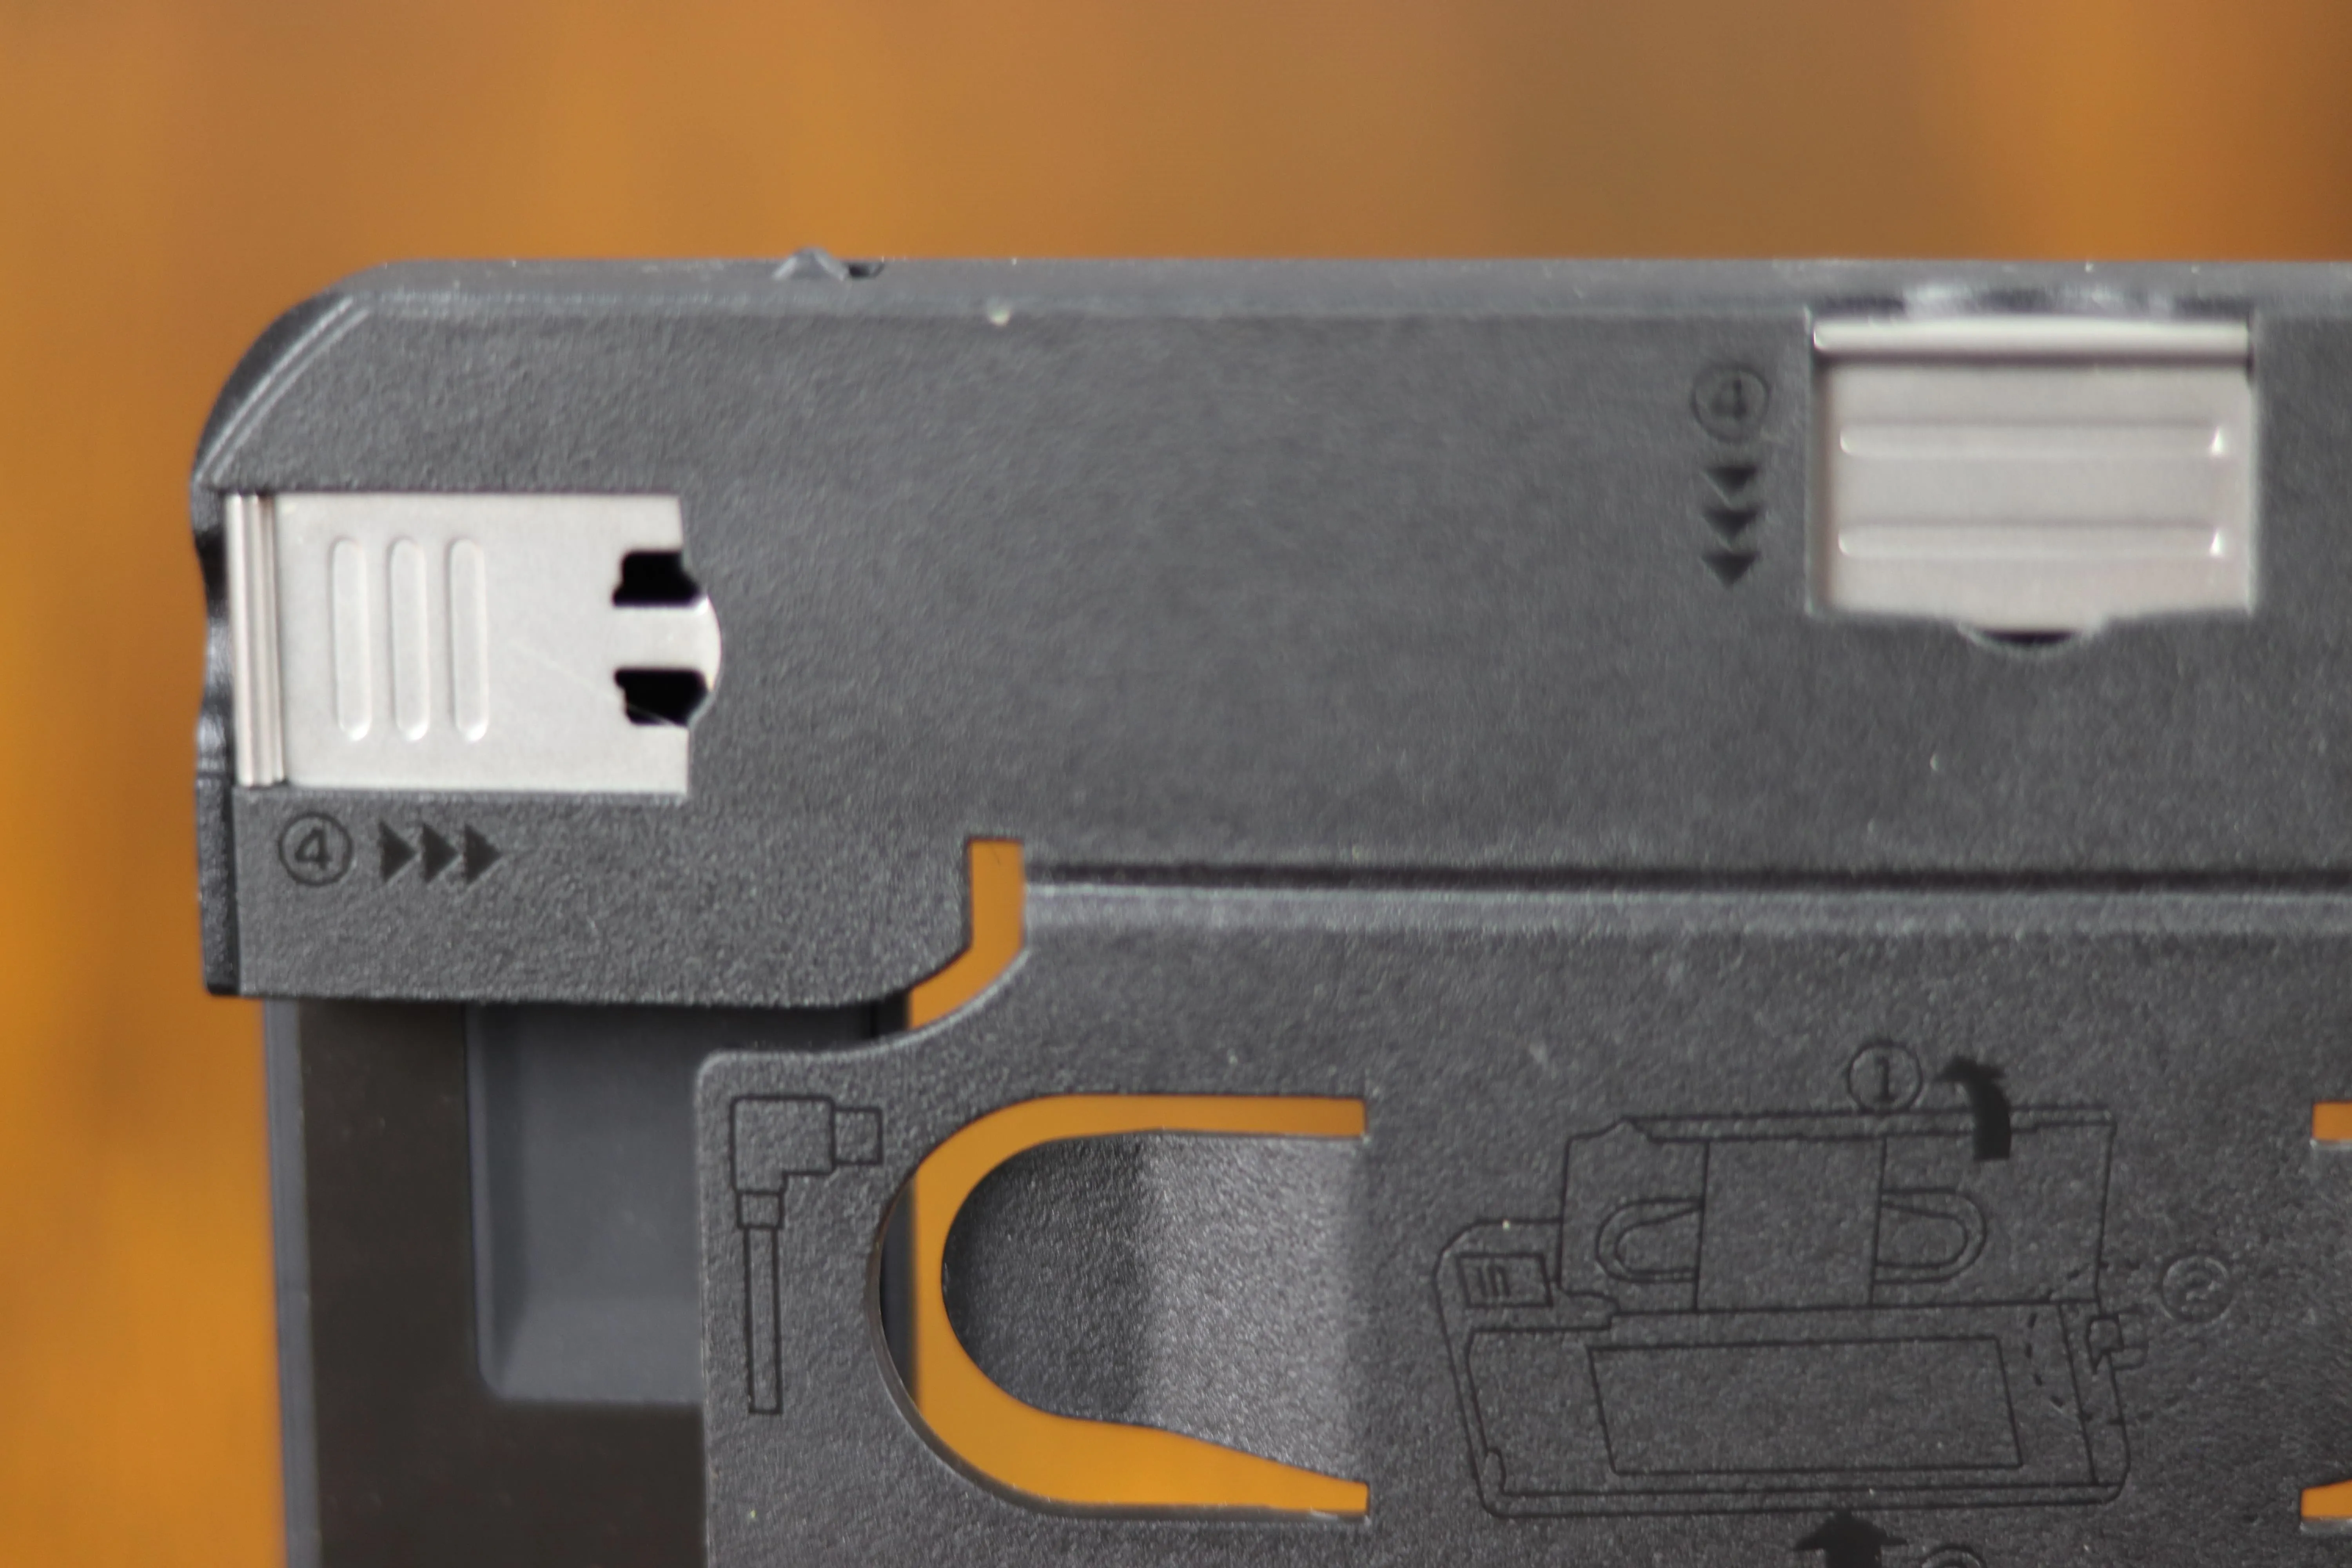
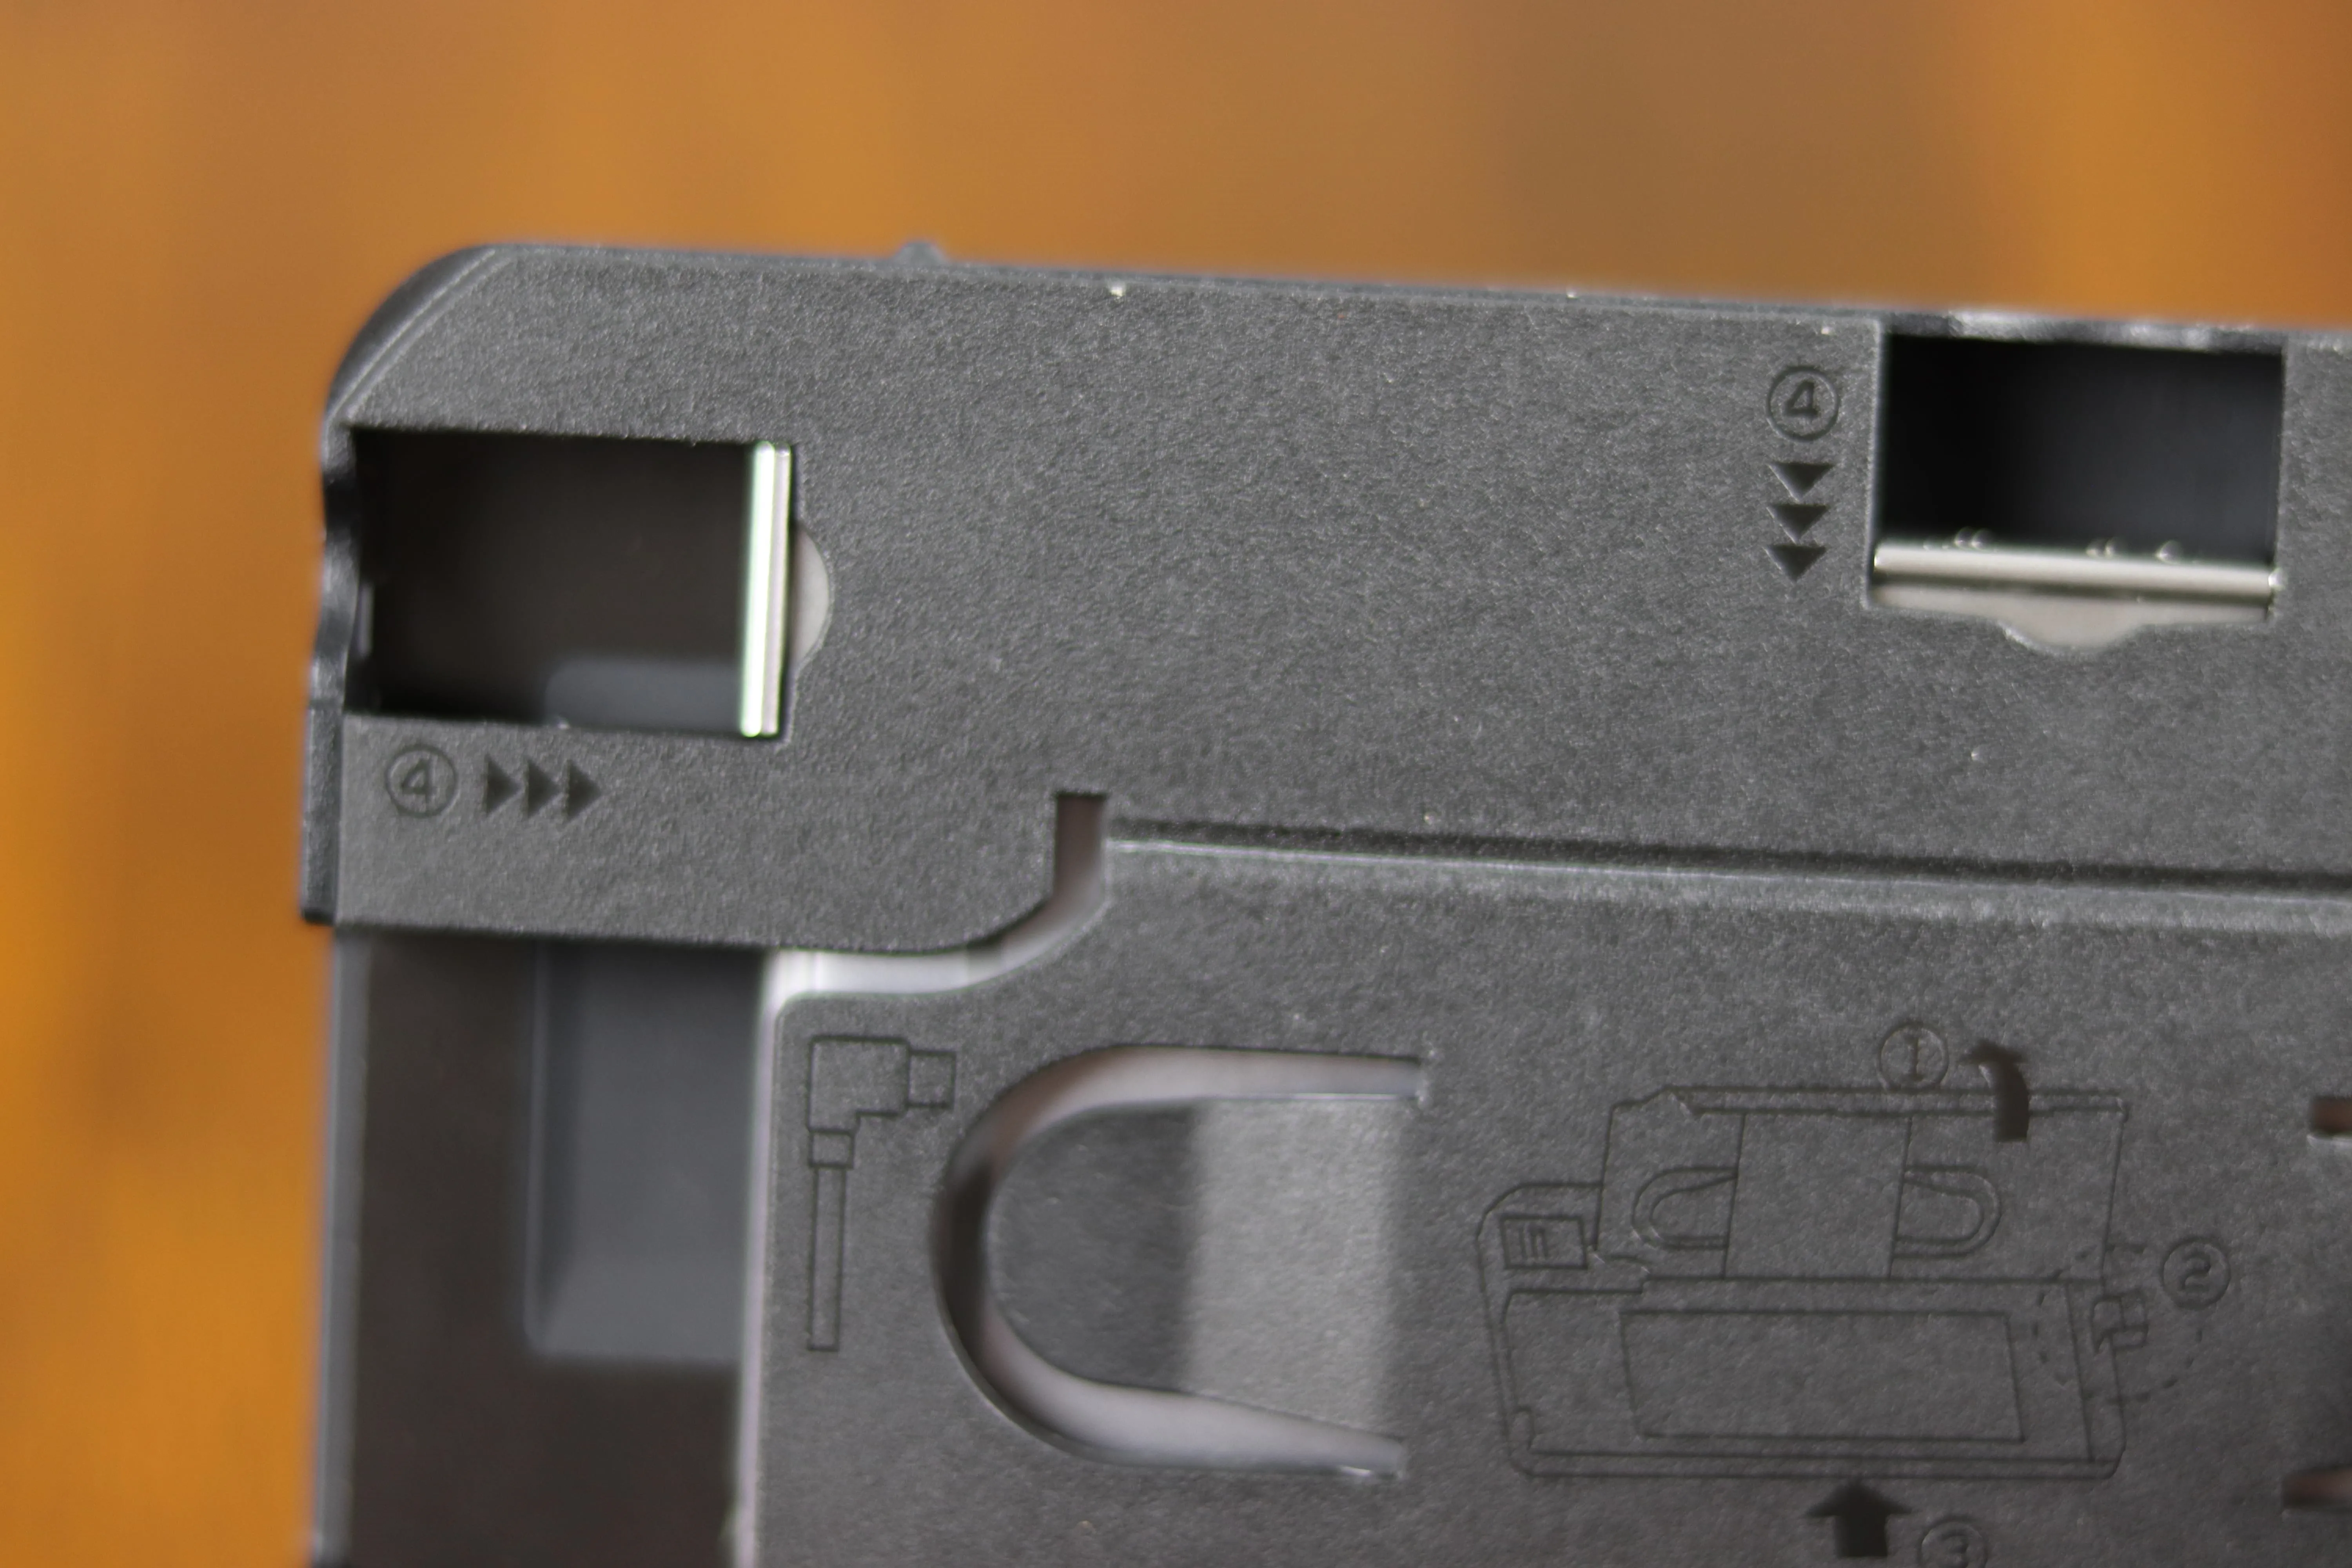
Adjust Sliders to Fit Your Smartphone
To make sure your smartphone doesn't move around as you train to use your newfound Jedi powers, slide the two silver adjustment tabs on the top-left and top to make sure your smartphone fits snugly inside the sleeve. As you can in the pictures below, the iPhone 6s requires the full use of the tabs to fit well.
Jason Odom/Next Reality
Jason Odom/Next Reality
Jason Odom/Next Reality
Jason Odom/Next Reality
Connect the Cable to Your Smartphone
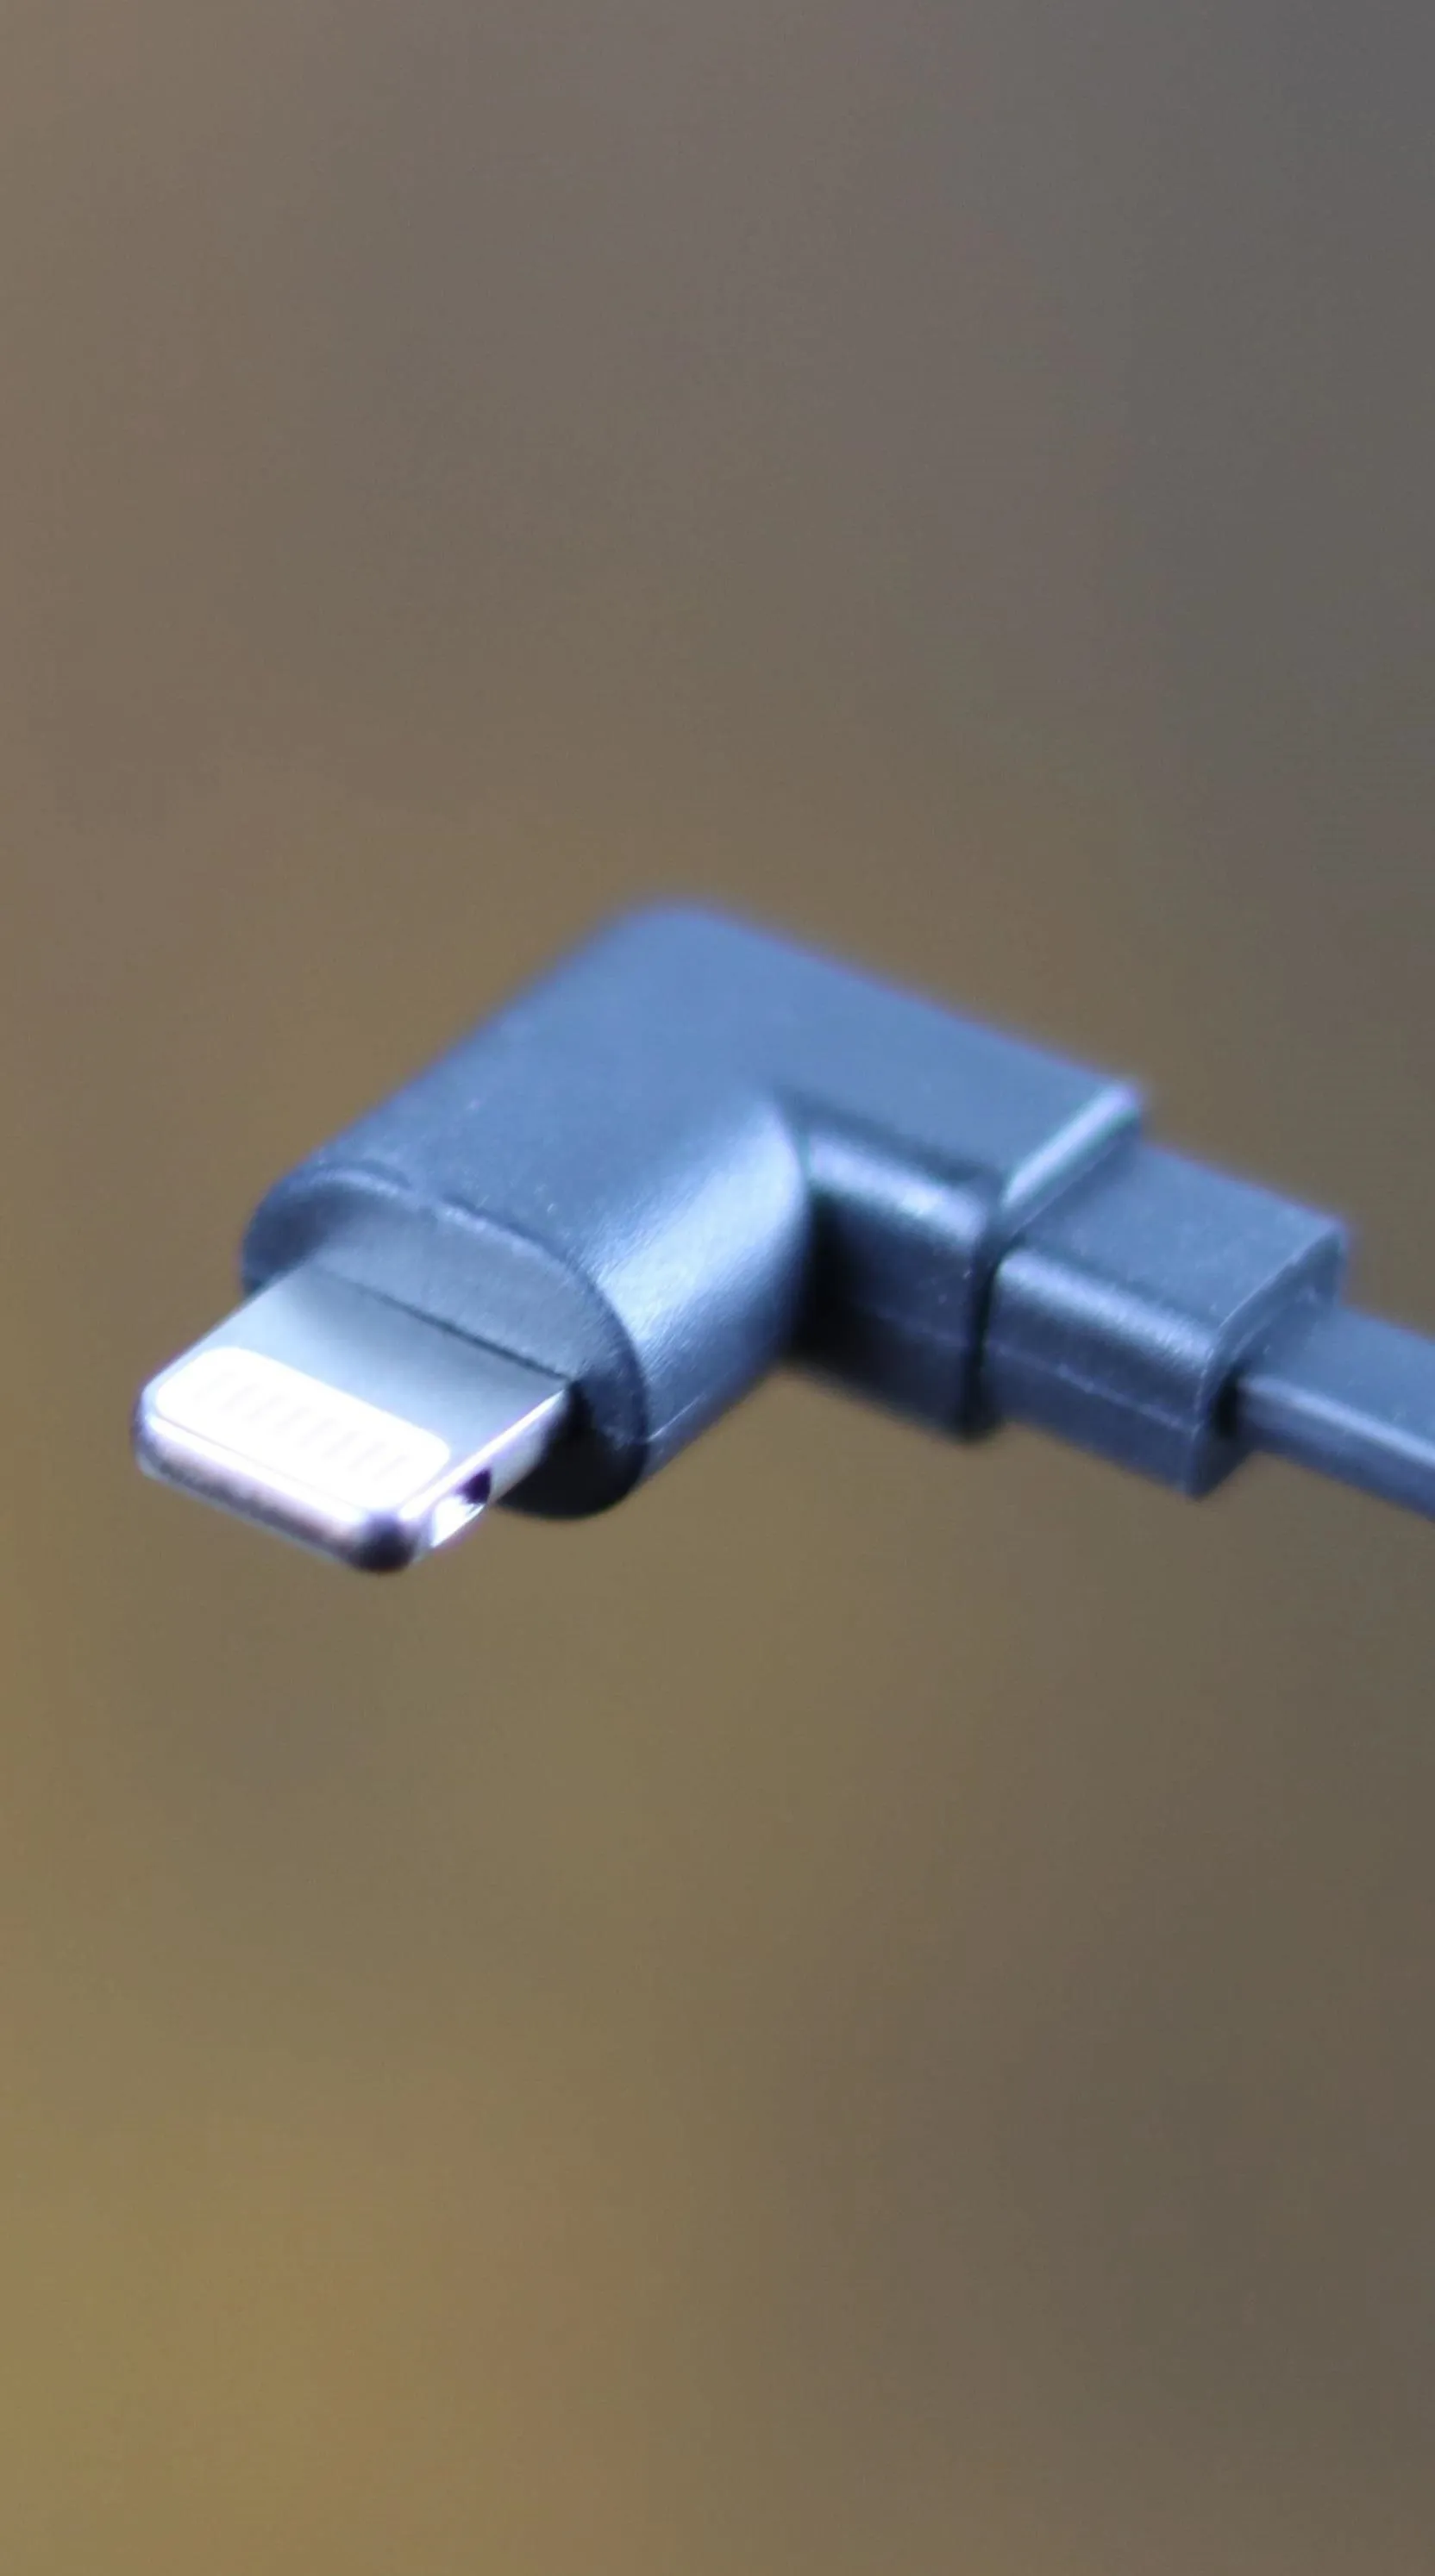
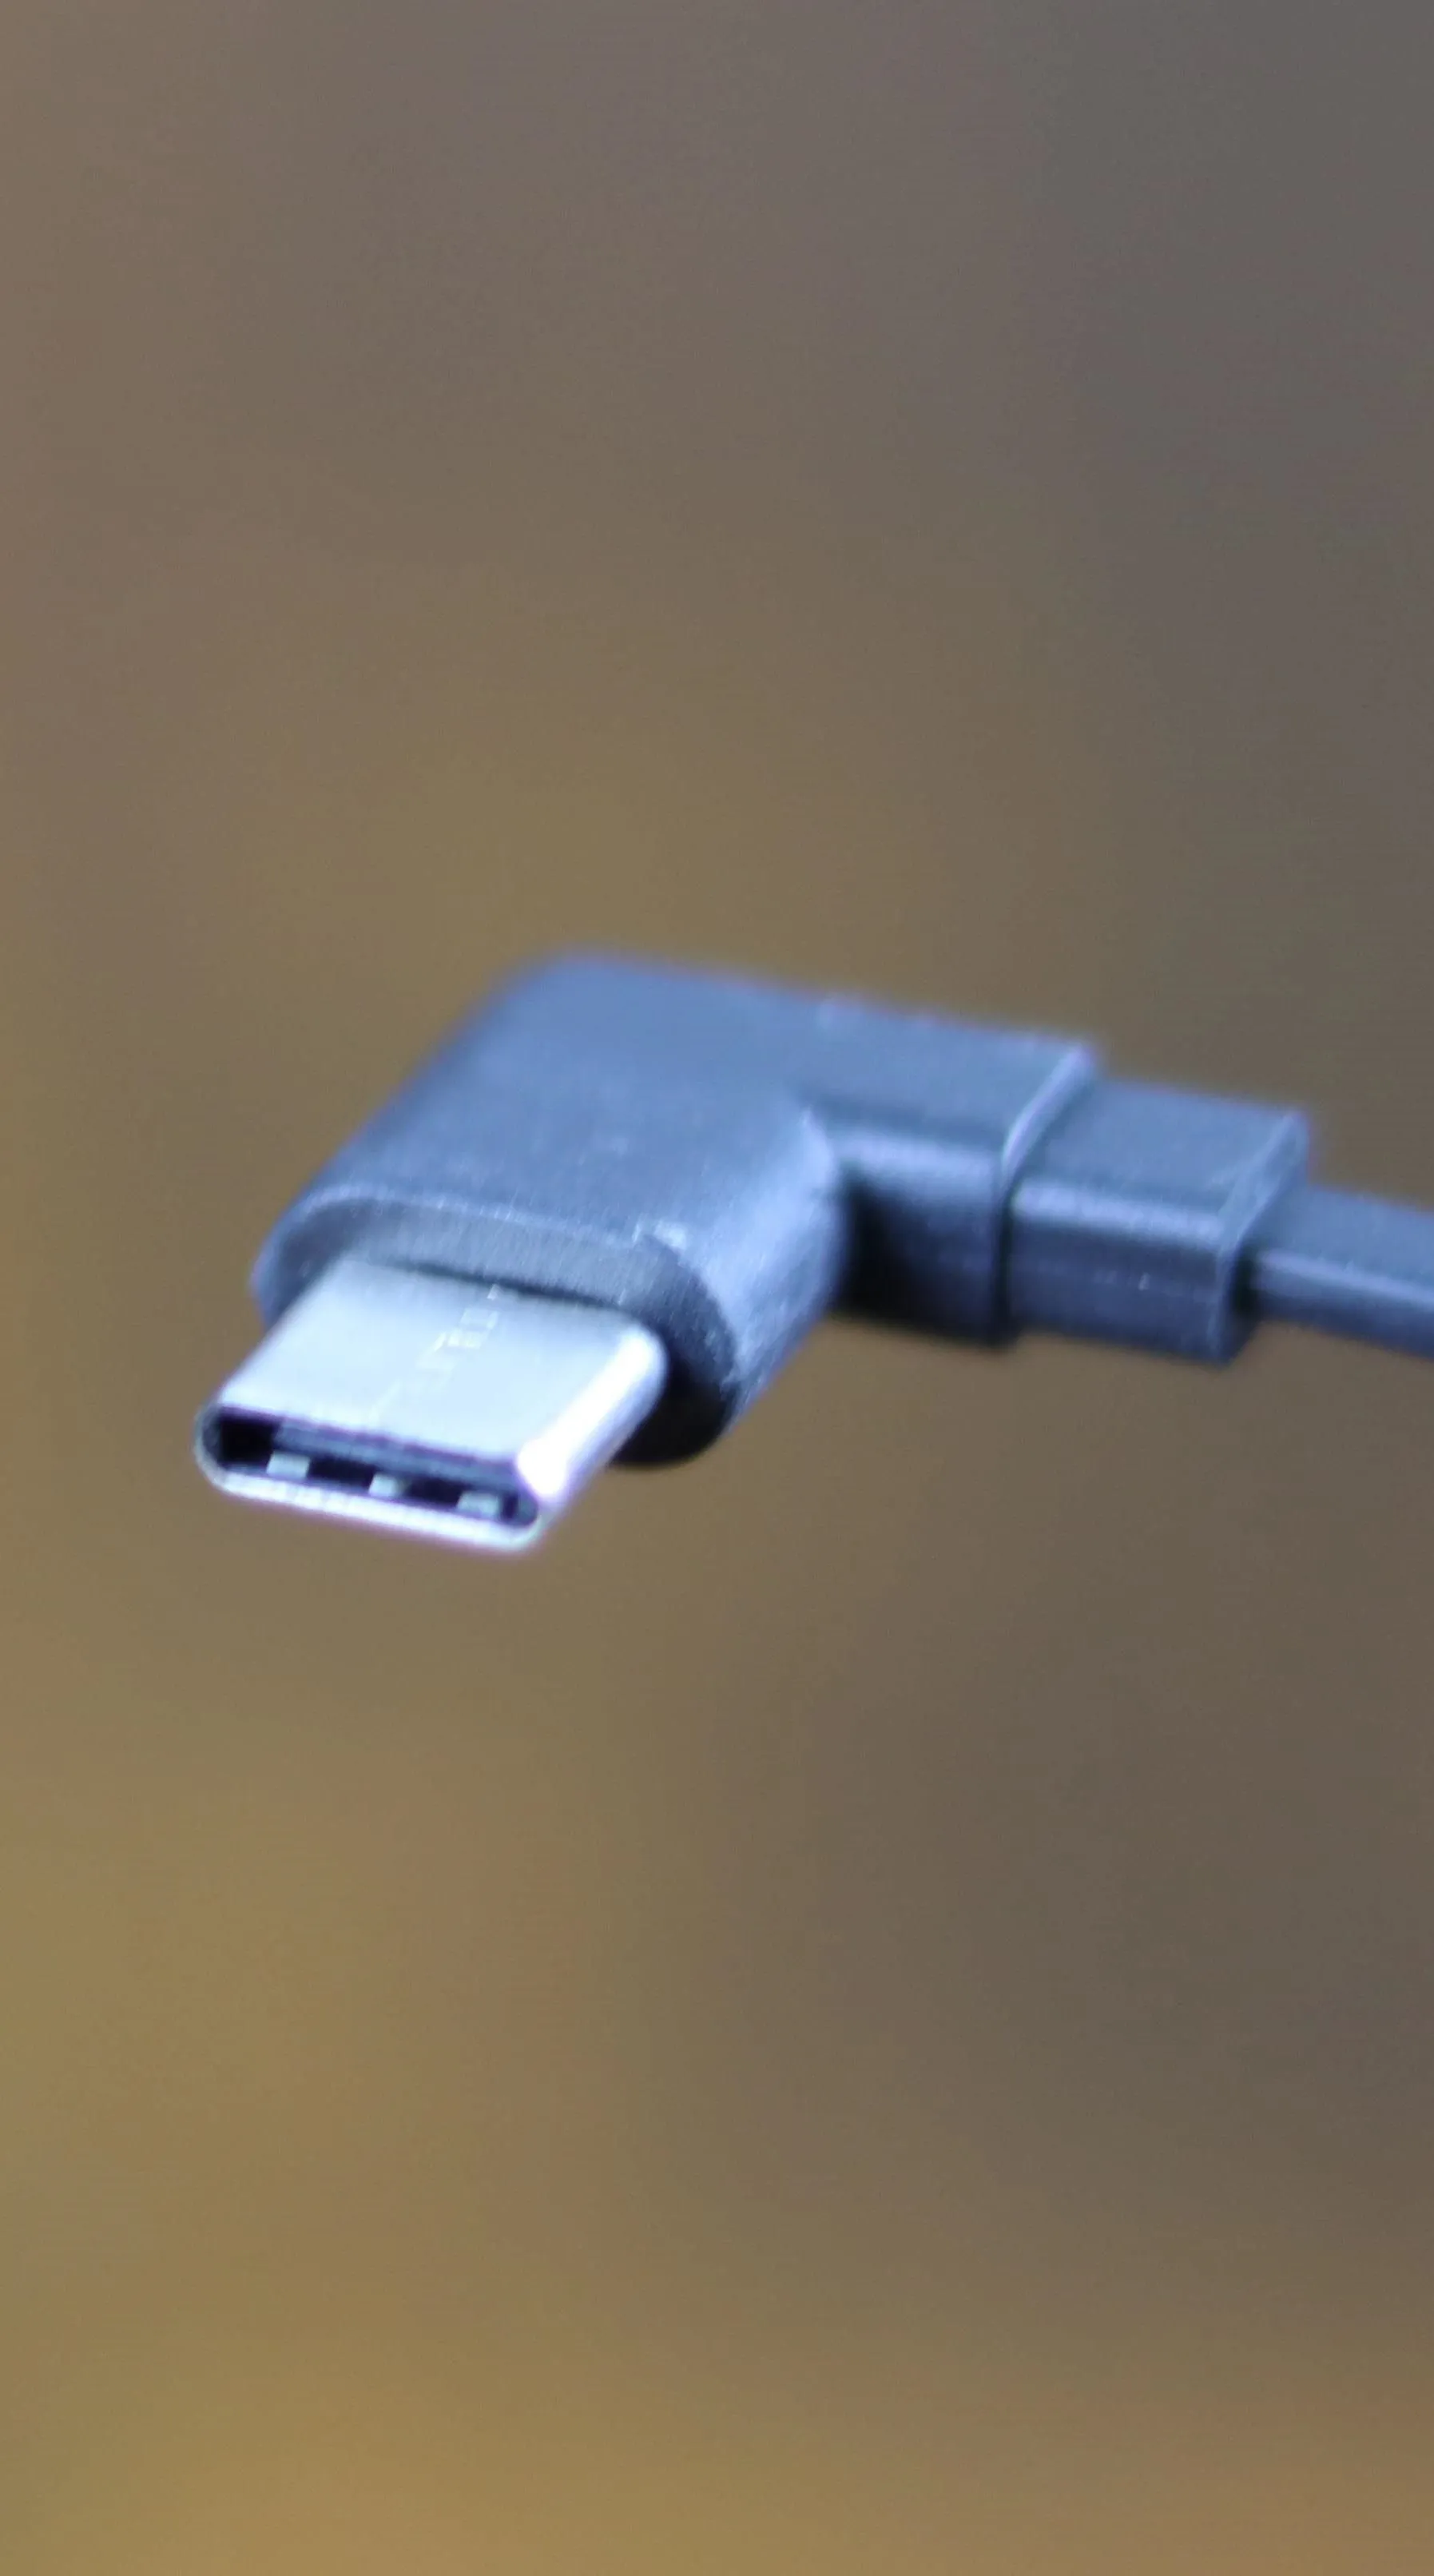
The setup comes with three different Micro-USB adapter cables to connect the headset to your smartphone: the common Micro-USB for older Android devices, the Lightning connector for iPhones, and the less common, but better in every way, USB Type-C connector. USB Type-C is mostly for more recent Android smartphones like the Pixels and latest Samsung Galaxy devices.
Micro-USB (left), Lightning (middle), and USB-C (right).
Jason Odom/Next Reality
Jason Odom/Next Reality
Micro-USB (left), Lightning (middle), and USB-C (right).
Jason Odom/Next Reality
Jason Odom/Next Reality
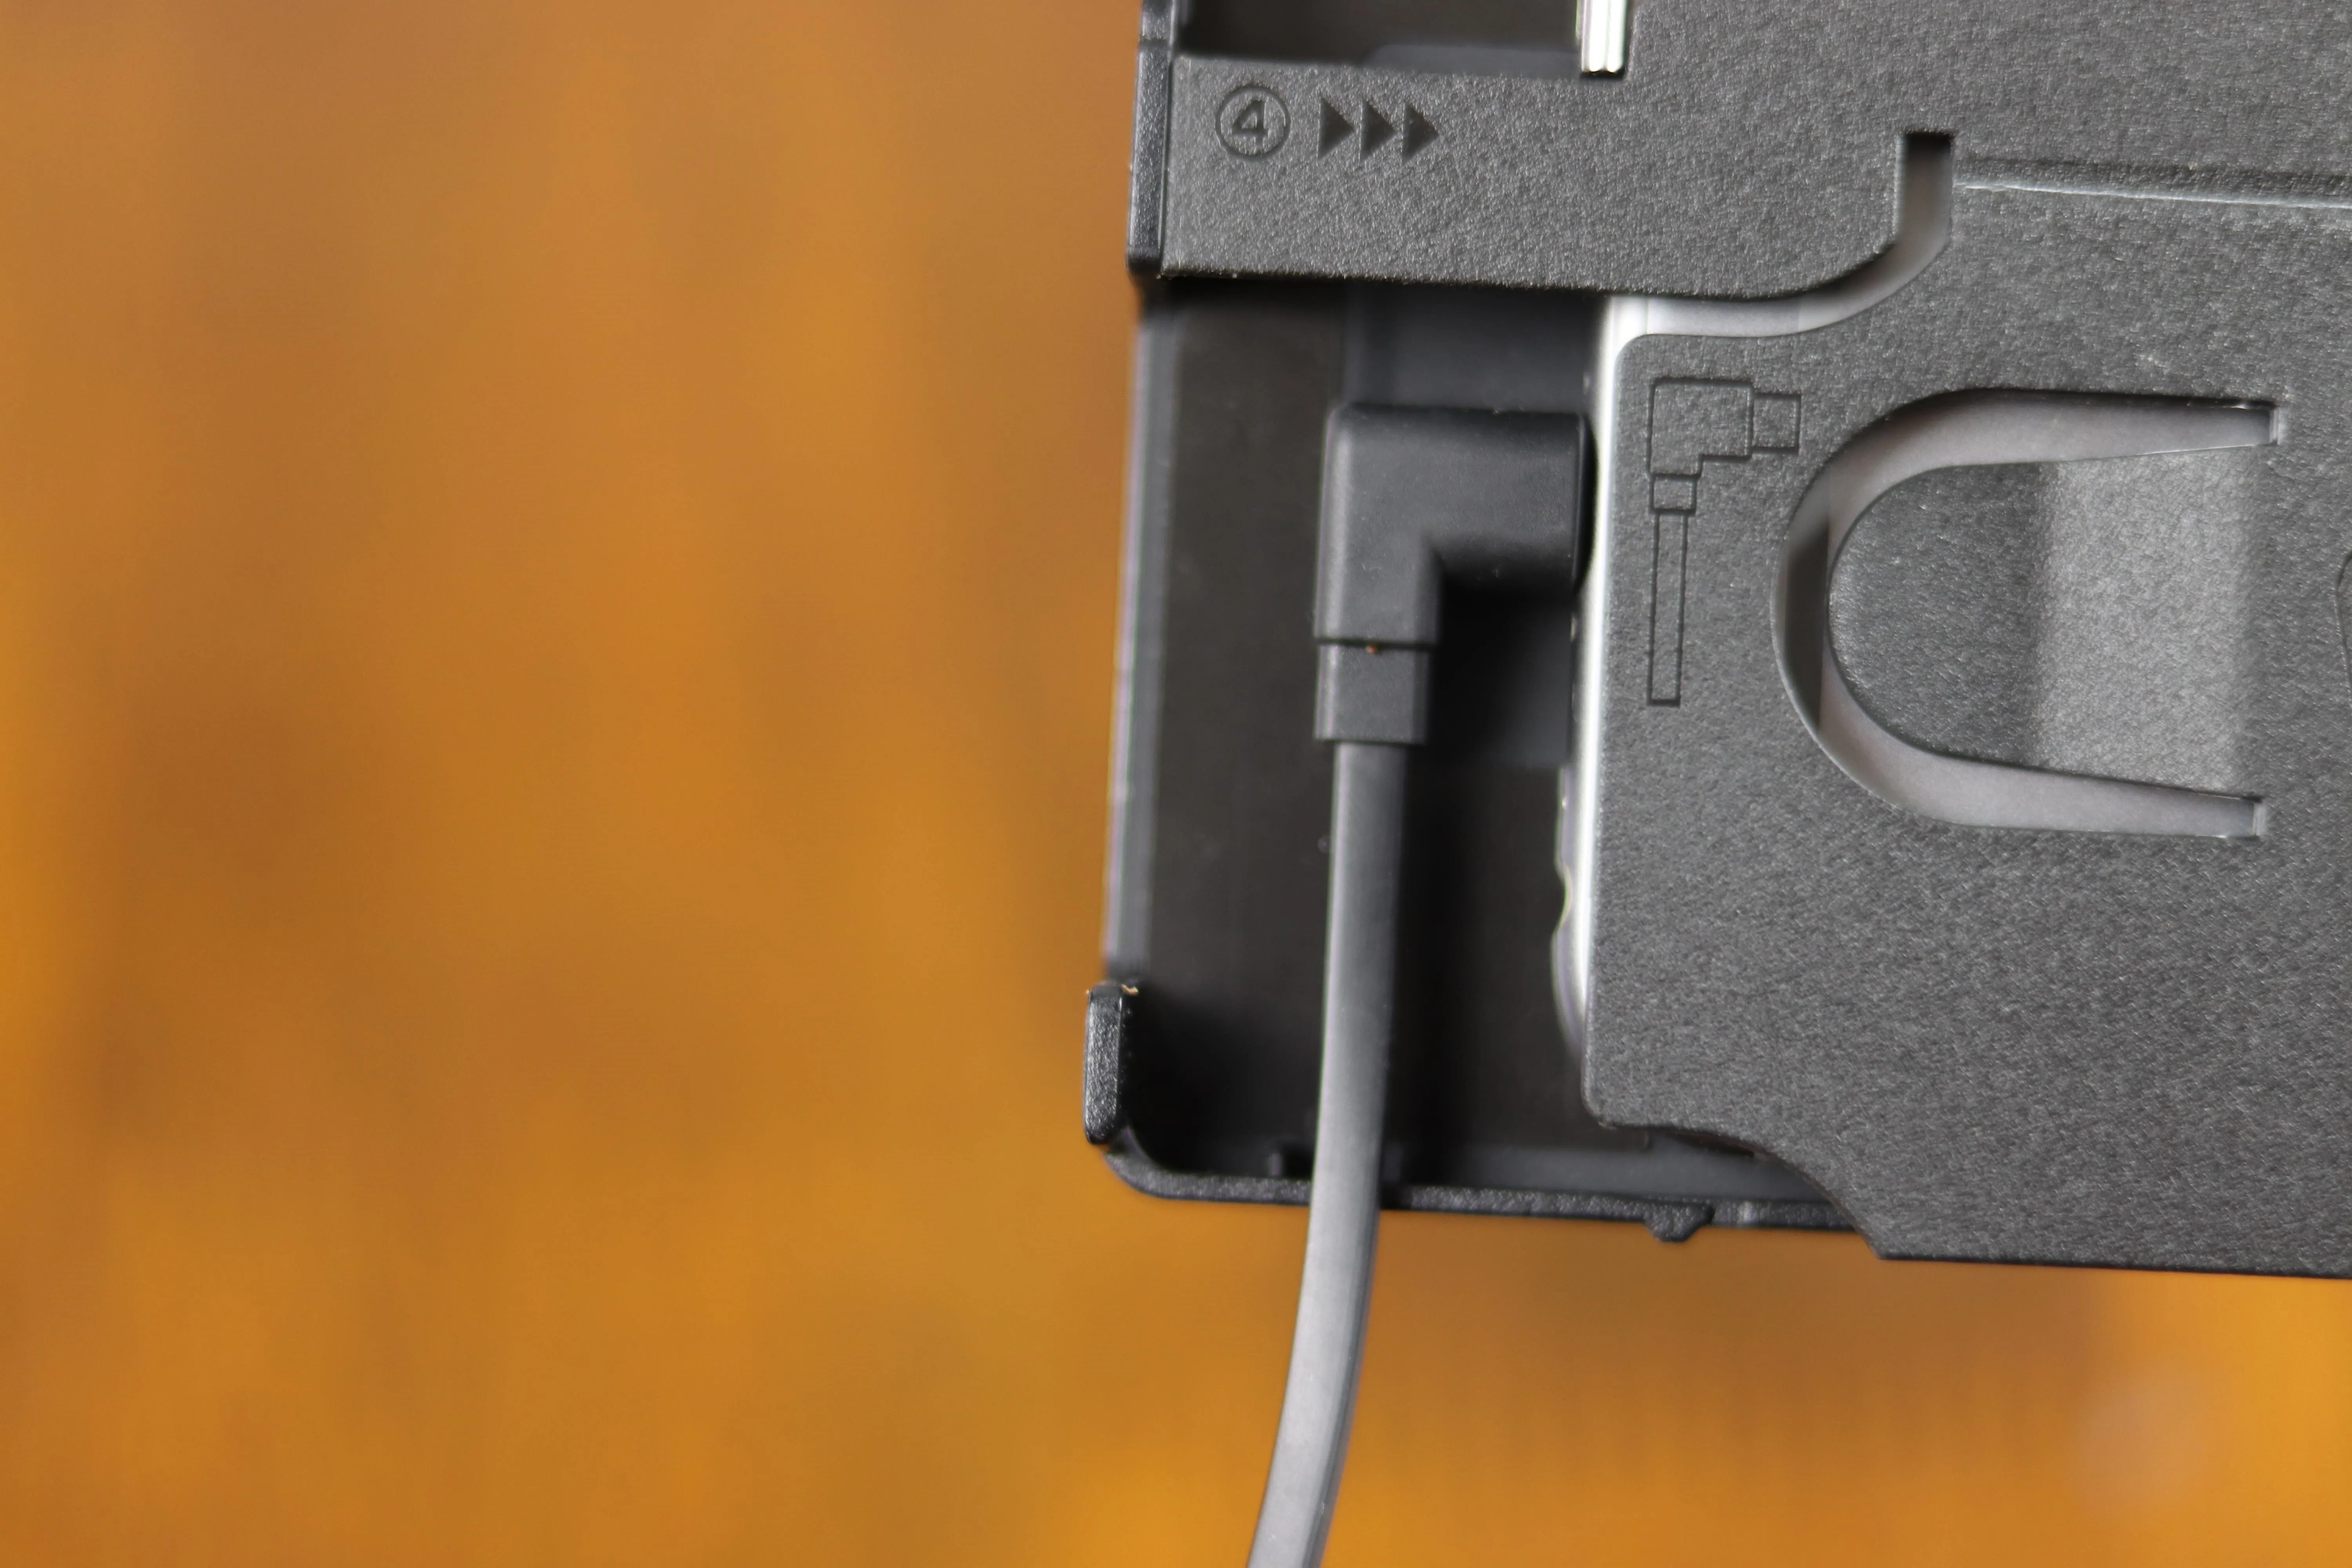
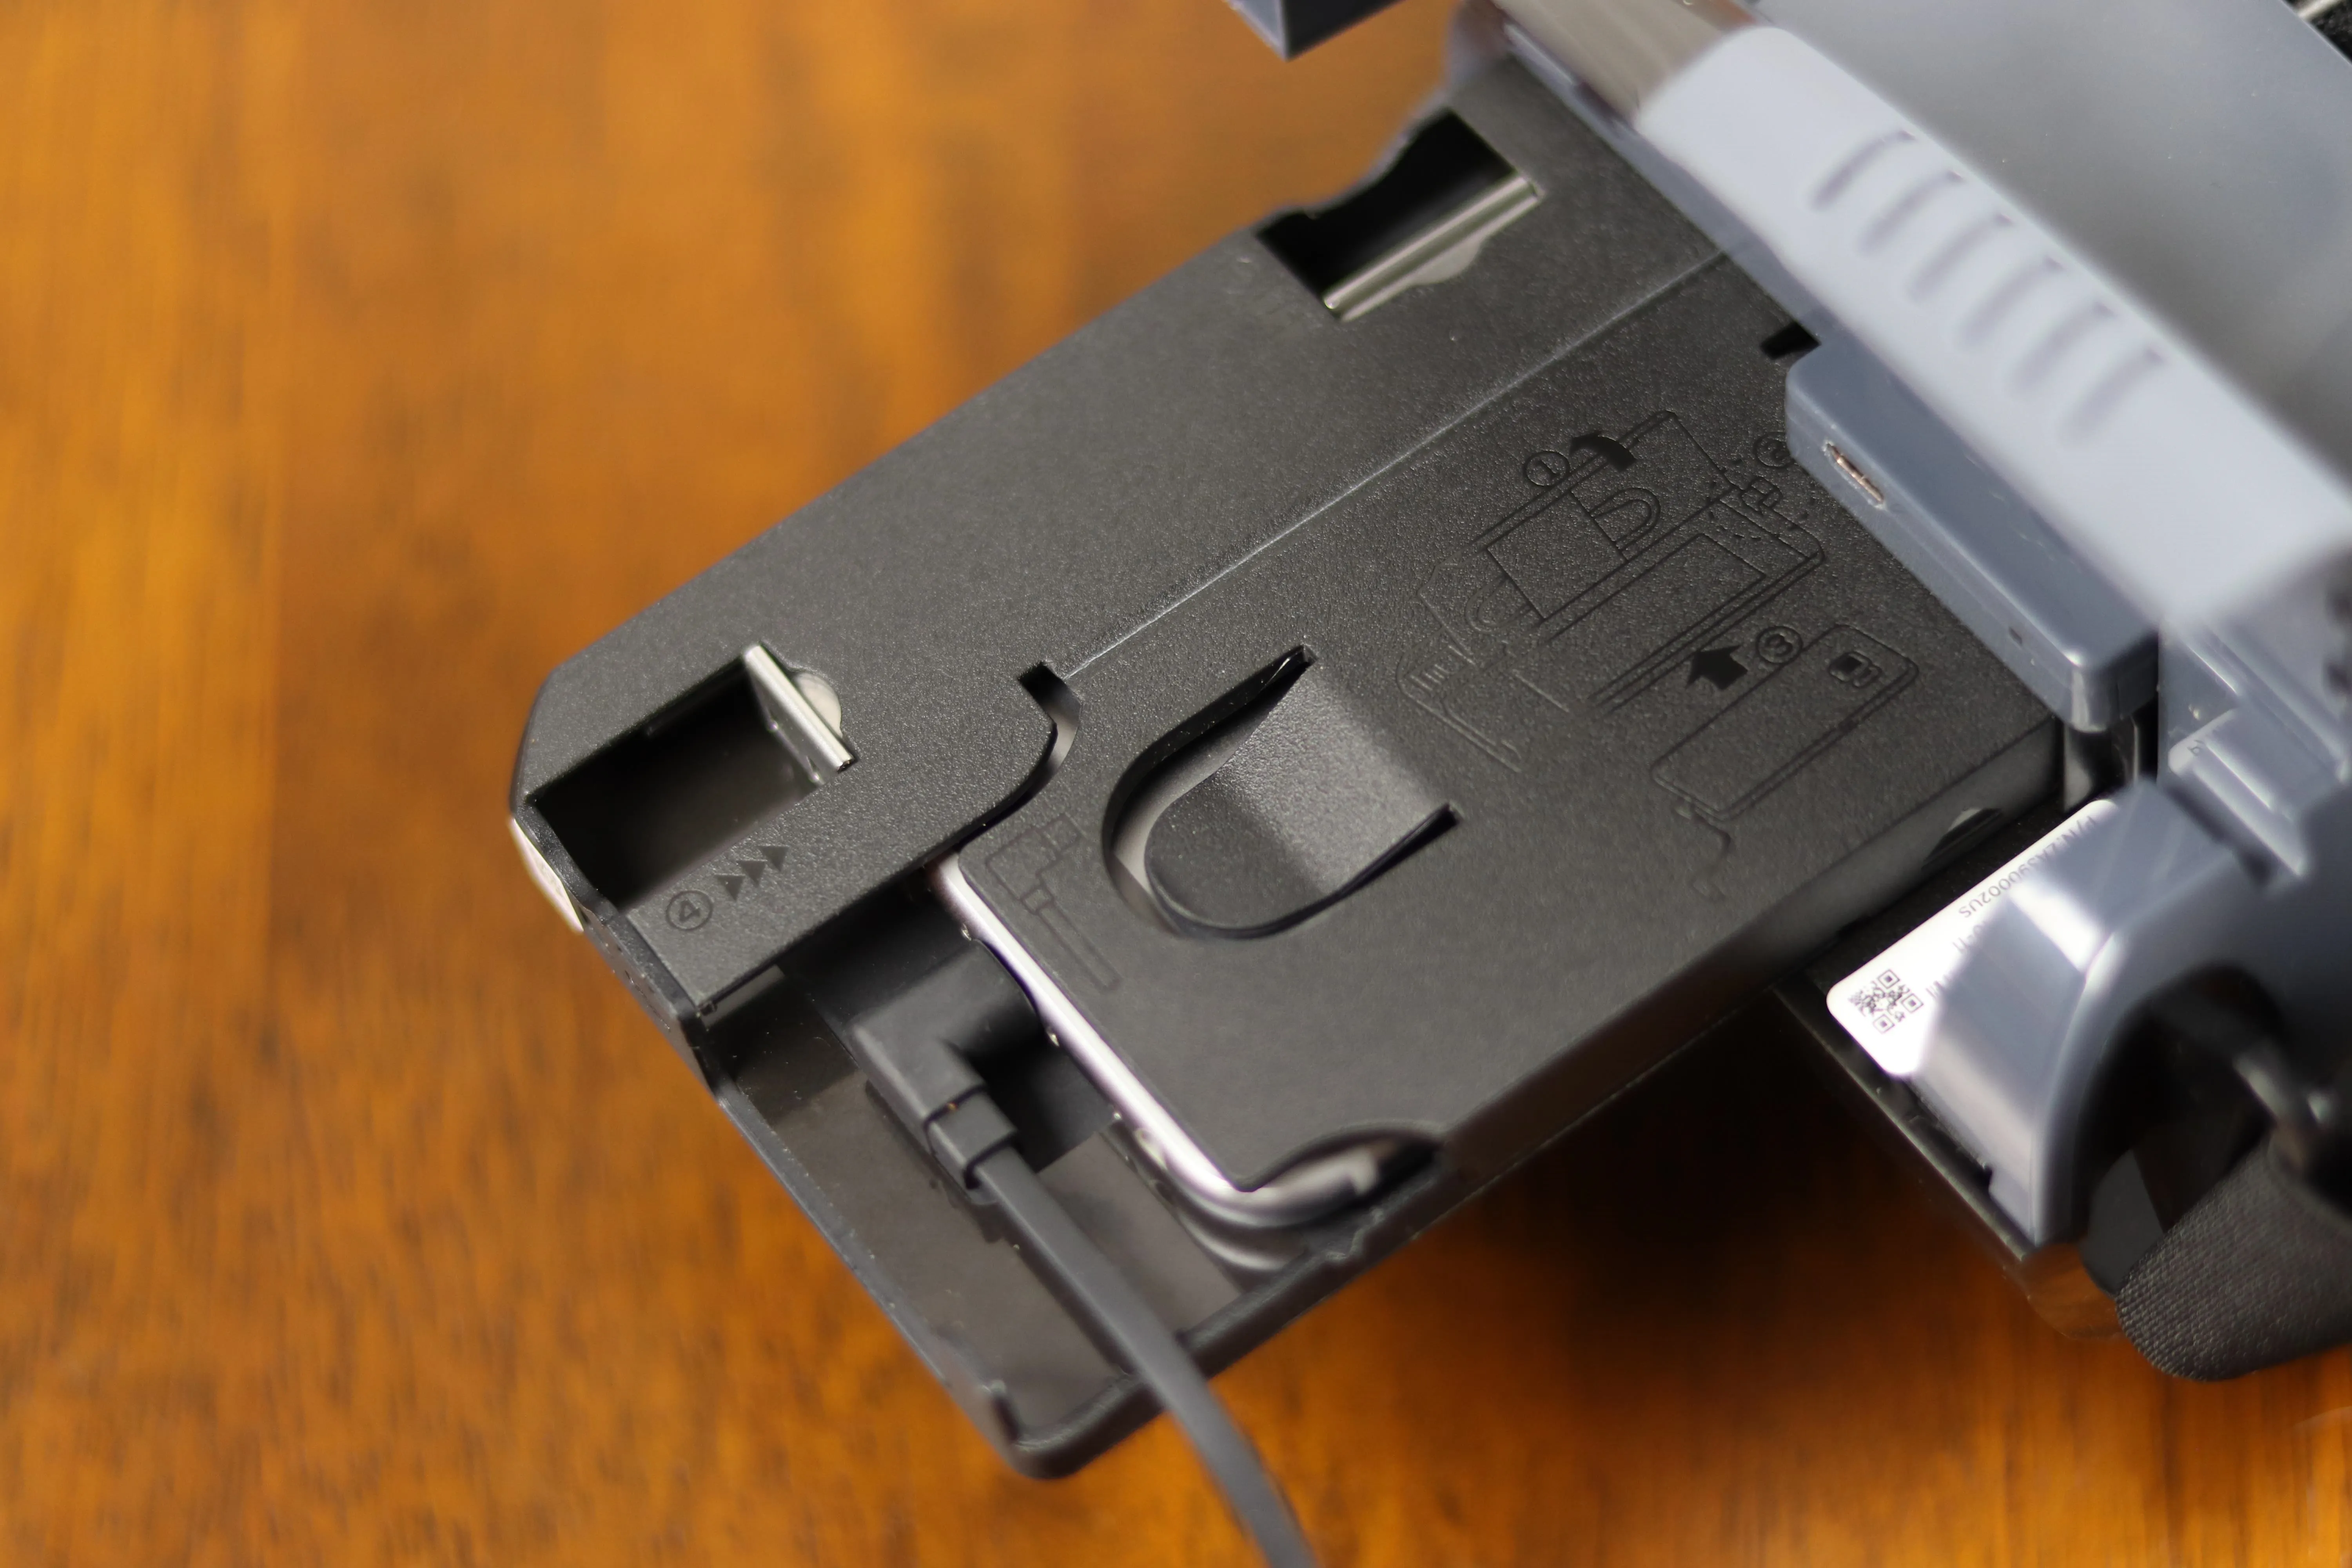
Once you have determined which short adapter cable you need to use, plug the appropriate end into your smartphone via the empty space in the tray.
Jason Odom/Next Reality
Slide the Tray into the Headset
With the smartphone secured in the tray and the patch cable connected to the smartphone, slide the tray into the headset with the lid facing the Micro-USB port in the headset. Make sure the end with the cable sticking out is pointing away from the headset.
Jason Odom/Next Reality
Jason Odom/Next Reality
Jason Odom/Next Reality
Jason Odom/Next Reality
Connect the Cable to the Mirage AR Device
Finally, connect the other end of the cable into the Micro-USB port on the headset and close the side panel. Now, you are ready to go!
Jason Odom/Next Reality
This is arguably an unrealistic number of steps to run through everytime you want to use the Star Wars: Jedi Challenges playset, but really, once you do it two or three times, it's not that complicated.
Power on the Lightsaber & Beacon
Now, with the game running and headset on, turn on your charged lightsaber controller in your hand. Make sure the blade end turns blue, indicating that it's synced to your smartphone. Next, turn on the included circular tracking beacon and make sure it is set to the pink color (currently, blue does nothing).
Regarding the color of the beacon, here's a quick story that may be helpful. Initially, when I got everything set up and turned everything on, nothing happened. I actually got to the point where, after getting no result, I uninstalled everything and then reinstalled everything — and the setup still didn't work. After spending a good deal of time on the Lenovo website and finding nothing useful there, I gave up.
Then, when I went to turn the beacon off, because of how the switch on the beacon is positioned, I accidentally switched it from blue (cyan) to pink (amber). Suddenly, everything began working as it should, and I could enjoy a little Jedi training. There, I just saved you a few hours pleading with the Force to solve that mystery for you. The cyan color is actually for multiplayer functionality that isn't ready to deploy yet.
I hope this helped any wayward AR travelers out there. Let us know if there are any issues you come across with the Lenovo headset or Star Wars accessories in the comments below.
- Follow Next Reality on Facebook, Twitter, and YouTube
- Sign up for our new Next Reality newsletter
- Follow WonderHowTo on Facebook, Twitter, Pinterest, and Google+
Cover photo by Jason Odom/Next Reality


Comments
Be the first, drop a comment!